
Introduction to Old Fashioned Red Velvet Cake
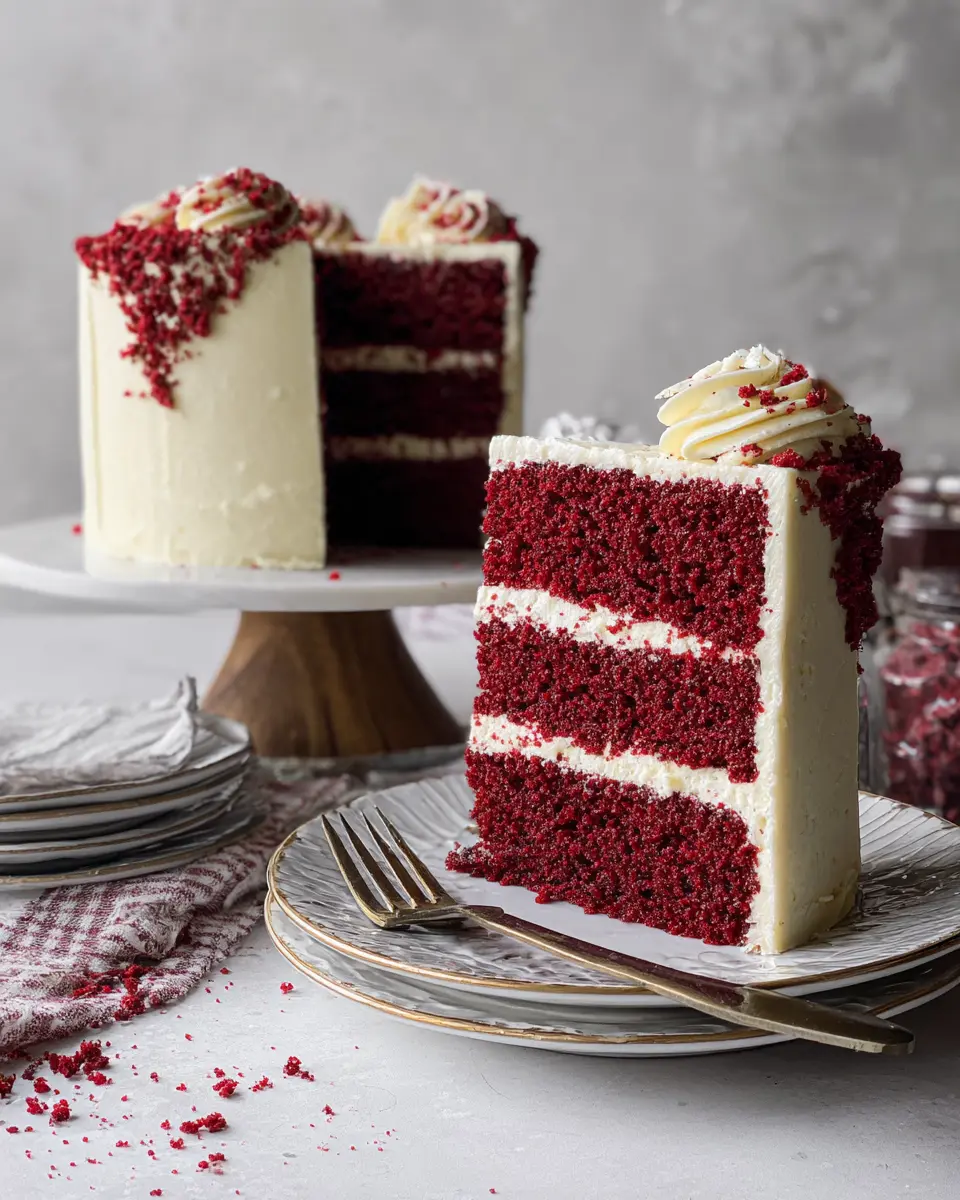
Old Fashioned Red Velvet Cake is not just a dessert; it’s a cherished tradition that has warmed hearts for generations. The rich history of this cake can be traced back to the Southern U.S., where it became a staple at family gatherings and celebrations. Its striking red hue, often attributed to a combination of cocoa powder and buttermilk, draws you in visually, while the tender texture and subtle chocolate flavor envelop your taste buds in comfort.
Why is Old Fashioned Red Velvet Cake a timeless favorite?
Have you ever walked into a room filled with the aroma of freshly baked cake, only to be met with smiles and laughter? That's the magic of Old Fashioned Red Velvet Cake. It's a cake that not only satisfies your sweet tooth but also evokes a sense of nostalgia. Many people recall their grandmothers or mothers using family recipes, passing down love through layers of cake and frosting.
This cake’s versatility also enhances its charm; it suits both simple family dinners and elaborate celebrations. Plus, with its unique cream cheese frosting, it’s a delightful blend of flavors that leaves a lasting impression. For tips on mastering this culinary classic, check out resources like the Joy of Cooking and Southern Living for expert insights.
In a world full of ever-changing food trends, the Old Fashioned Red Velvet Cake remains a beloved constant, bringing sweetness and celebration wherever it’s served.
Ingredients for Old Fashioned Red Velvet Cake
Creating a beautiful Old Fashioned Red Velvet Cake starts with gathering the right ingredients. This classic dessert is all about balance, and each element plays a significant role in delivering that quintessential velvety texture and vibrant color.
Essential ingredients for the cake
- ½ cup (1 stick or 113g) unsalted butter at room temperature
- 1 ½ cup (315g) sugar
- 2 large eggs at room temperature
- 1 teaspoon vanilla extract
- 1 tablespoon (8g) cocoa powder for a hint of flavor
- 2 ¼ cup (290g) all-purpose flour
- 1 teaspoon baking soda
- 1 teaspoon salt
- 1 cup (242g) buttermilk at room temperature
- 2 oz (56g) liquid red food color for that signature look
- 1 teaspoon white vinegar to enhance the cake's rise
These ingredients work together to create a tender, moist cake that’s sure to impress.
Key ingredients for the frosting
To top your Old Fashioned Red Velvet Cake with the perfect finishing touch, you’ll need:
- 3 tablespoon (30g) cornstarch
- 1 ½ cup (325g) water
- 1 ½ cup (3 sticks or 339g) unsalted butter at room temperature
- 1 ½ cup (315g) sugar
- 2 teaspoon vanilla extract
This creamy frosting adds a delightful sweetness and complements the cake beautifully, creating a dessert that’s hard to resist.
Ready to gather your ingredients? Click here to find a handy list to help with your shopping!
Step-by-step Preparation of Old Fashioned Red Velvet Cake
Creating an Old Fashioned Red Velvet Cake is an enjoyable process that will fill your kitchen with delightful aromas and culminate in a stunning dessert. Let’s dive into the steps!
Gather and prep your ingredients
Before you embark on this delicious baking adventure, gather your ingredients:
-
For the Red Velvet Cake:
-
½ cup (1 stick or 113g) unsalted butter at room temperature
-
1 ½ cup (315g) sugar
-
2 large eggs at room temperature
-
1 teaspoon vanilla extract
-
1 tablespoon (8g) cocoa powder
-
2 ¼ cup (290g) all-purpose flour
-
1 teaspoon baking soda
-
1 teaspoon salt
-
1 cup (242g) buttermilk at room temperature
-
2 oz (56g) liquid red food color
-
1 teaspoon white vinegar
-
For the Old Fashioned Frosting:
-
3 tablespoon (30g) cornstarch
-
1 ½ cup (325g) water
-
1 ½ cup (3 sticks or 339g) unsalted butter at room temperature
-
1 ½ cup (315g) sugar
-
2 teaspoon vanilla extract
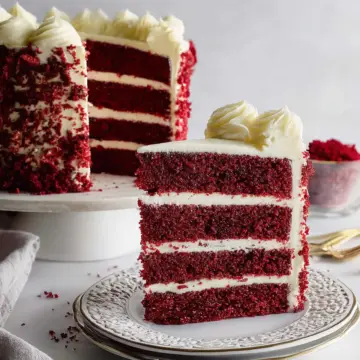
After gathering, preheat your oven to 325°F and prepare your three 6-inch round cake pans by greasing and lining them with parchment paper.
Cream the butter and sugar
In a stand mixer fitted with a paddle attachment, combine the butter and sugar. Cream them together on medium speed until the mixture becomes light and fluffy, which usually takes about 3-5 minutes. This step is crucial, as it helps to aerate the mix, creating a tender cake.
Incorporate eggs and vanilla
Now, add the eggs one at a time, mixing well after each addition to ensure the mixture is smooth and well-blended. Pour in the vanilla extract and mix. Then add the cocoa powder, scraping the bowl well to incorporate everything evenly. A quick burst on high speed for about 30 seconds will help achieve that silky texture!
Mix in dry ingredients
In a separate bowl, sift together the flour, baking soda, and salt. Gradually add this dry mix to your wet ingredients, blending until just combined. Avoid overmixing to keep your cake wonderfully tender.
Combine with buttermilk, food coloring, and vinegar
Now, stir in the buttermilk, red food coloring, and vinegar. This is where the magic happens! The vinegar reacts with the baking soda and the buttermilk creates that lovely velvety texture, while the food coloring transforms the batter into that iconic rich red.
Bake the cakes
Divide the batter evenly across the prepped cake pans. Bake for about 30-35 minutes, or until a toothpick inserted into the center comes out clean. Let your layers cool in the pans for 10 minutes before transferring them to a wire rack.
Prepare the frosting
While the cakes cool, it’s time to prepare the decadent frosting. In a saucepan, whisk together the cornstarch and water over medium heat until it thickens. Once cooled, beat the butter and sugar until fluffy, then gradually add the cornstarch mixture and vanilla, mixing until smooth and creamy.
Assemble the cake layers
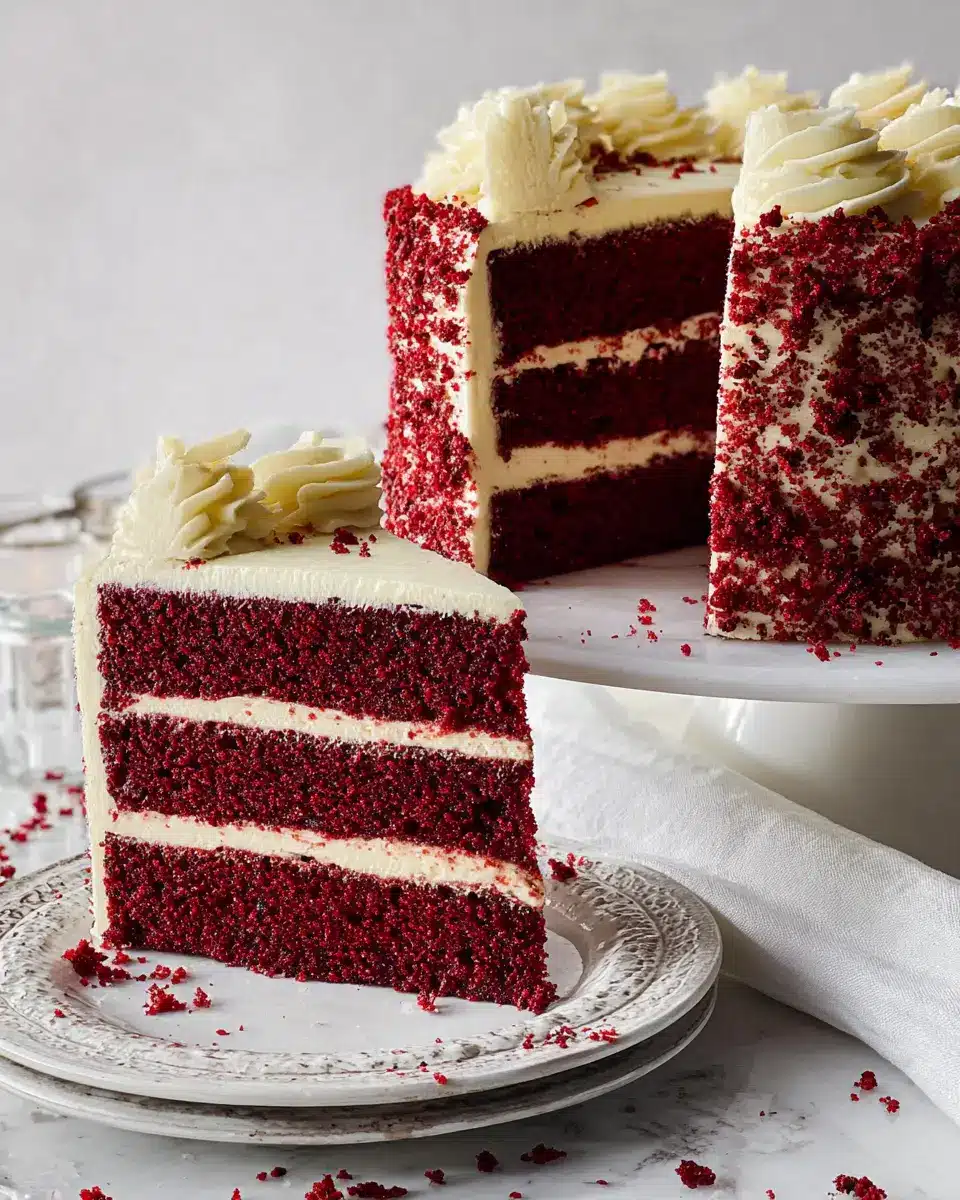
With your cakes cooled and frosting ready, it’s time to assemble! Place one cake layer on a serving plate, spread a generous amount of frosting on top, and repeat with the second layer. Add the final layer on top and frost the top and sides of the cake for that beautiful finish.
Chill and serve
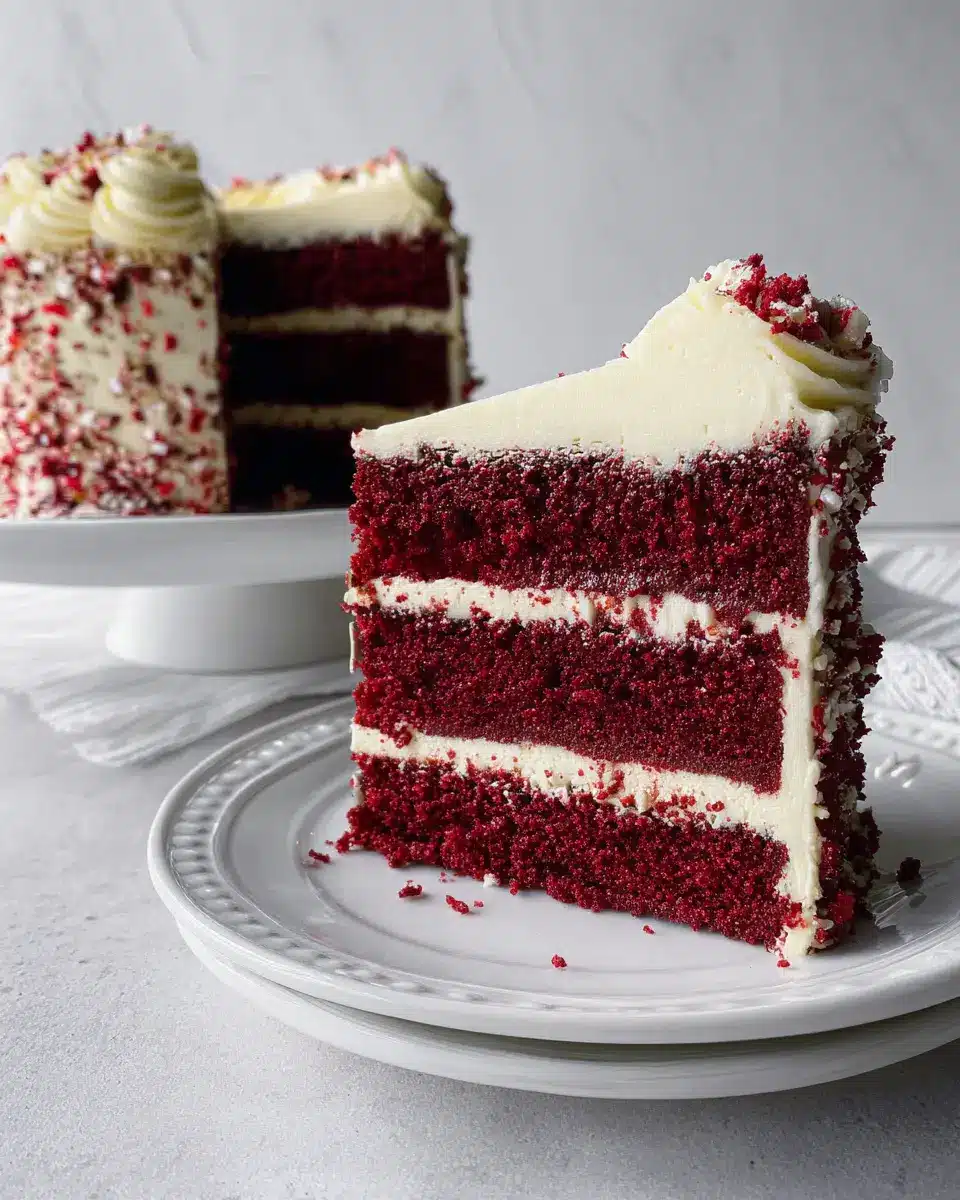
For optimal flavor and texture, chill the assembled cake in the fridge for about 30 minutes. This allows the frosting to set nicely. When you're ready to serve, slice into it to reveal those stunning red layers, and enjoy a piece of classic Old Fashioned Red Velvet Cake!
Support your baking journey further by checking out additional tips on baking techniques or frosting methods to elevate your skills. Happy baking!
Variations on Old Fashioned Red Velvet Cake
Red Velvet Cupcakes
Who doesn’t love a good cupcake? Transform your Old Fashioned Red Velvet Cake into charming cupcakes for easier serving. Simply divide the batter into lined muffin tins and bake for about 20-25 minutes. Top with the delicious old fashioned frosting for a bite-sized treat that’s perfect for parties or weekday indulgences!
Gluten-Free Red Velvet Cake
For those with dietary restrictions, a gluten-free version of Old Fashioned Red Velvet Cake can still deliver that signature velvety texture. Substitute the all-purpose flour with a 1:1 gluten-free flour blend, ensuring it includes xanthan gum for optimal rise and structure. Don’t forget to check your baking powder for gluten-free certification!
Chocolate-Red Velvet Hybrid Cake
If you’re a chocolate lover, a chocolate-red velvet hybrid cake is a delightful twist! Simply increase the cocoa powder to 2 tablespoons while keeping the key ingredients intact. This variation keeps that wonderful red hue while adding a rich cocoa layer, making it a double treat that you won’t want to miss.
For more variations and tips, check out websites like The Kitchn and Bon Appétit. Get ready to impress at your next gathering with these delicious adaptations!
Cooking Tips and Notes for Old Fashioned Red Velvet Cake
Tips for Perfecting the Cake Texture
To achieve that melt-in-your-mouth texture for your Old Fashioned Red Velvet Cake, be sure to cream the butter and sugar until light and fluffy. This incorporates air which helps create a soft crumb. Use room temperature ingredients, as they blend better and contribute to an even rise.
Maintaining Vibrant Color
To keep that stunning red hue, opt for high-quality liquid red food coloring. Avoid natural alternatives, as they may dilute the vibrant tone. Mixing the color in well with the wet ingredients ensures an even distribution, resulting in a consistently rich appearance throughout the cake.
Frosting Consistency Advice
For your frosting to be light and airy, ensure your Old Fashioned Frosting is whipped to perfection. If it feels too thick, add a few teaspoons of milk to reach your desired consistency. Remember, proper blending means smooth and perfect coverage that doesn’t slide off your cake.
Feel free to explore more baking tips for additional insights!
Serving Suggestions for Old Fashioned Red Velvet Cake
Pairing with Coffee or Tea
There's something special about enjoying Old Fashioned Red Velvet Cake with a steaming cup of coffee or tea. The cake's rich flavor and creamy frosting complement the subtle notes in a well-brewed cup of coffee, whether it's a bold espresso or a smooth Americano. Similarly, a light herbal tea can enhance the cake's sweetness without overpowering it. Consider pairing it with a spiced chai for a cozy afternoon treat. Not sure where to start? Check out this guide on coffee and cake pairings.
Decorative Serving Options
To elevate your presentation, consider serving your Old Fashioned Red Velvet Cake on a beautiful cake stand. Dust the top with a light sprinkle of cocoa powder or shredded coconut for added flair. Fresh berries can also enhance the visual appeal—and their tartness balances the cake’s sweetness. For a touch of elegance, place edible flowers around the slices. This not only makes for a stunning centerpiece but invites guests to indulge. Your cake deserves the spotlight!
Time Breakdown for Old Fashioned Red Velvet Cake
Preparation Time
Devote about 60 minutes to prepare your Old Fashioned Red Velvet Cake. This includes gathering your ingredients and mixing them to perfection, ensuring each step is executed with care for that classic flavor.
Baking Time
Let your cake bake for approximately 40 minutes at 325°F. Keep an eye on it; you’ll want that perfect rise and texture that makes this dish a family favorite.
Cooling and Chilling Time
After baking, allow your cake to cool for about 30 minutes. A little patience here is rewarded with enhanced flavor, so don’t rush this step!
Total Time
Overall, you’ll spend 130 minutes creating this delightful cake, from prep to plate. Trust me, it’s worth every second for the joyful moment you'll experience when serving this crowd-pleaser.
For tips on perfecting your baking methods, check out this guide on baking fundamentals. Happy baking!
Nutritional Facts for Old Fashioned Red Velvet Cake
When indulging in a slice of Old Fashioned Red Velvet Cake, it's good to know what you're savoring! Let’s break down the crucial nutritional facts you might want to consider.
Calories per serving
Each slice of this delightful cake contains approximately 400 calories, making it a rich treat perfect for celebrations.
Sugar content
Sweetness is key in Old Fashioned Red Velvet Cake, and with around 45 grams of sugar per serving, it's definitely a dessert to enjoy in moderation.
Sodium levels
With about 350 milligrams of sodium per slice, this cake fits comfortably within typical daily sodium guidelines, allowing you to indulge without too much worry.
Understanding these nutritional facts helps you enjoy each delicious bite, knowing exactly what’s on your plate. For more information on nutrition and health, check resources like The USDA FoodData Central for accurate insights.
FAQs about Old Fashioned Red Velvet Cake
How can I keep my red velvet cake moist?
To ensure your Old Fashioned Red Velvet Cake stays moist and delicious, consider these tips:
- Use buttermilk: This ingredient not only adds flavor but also keeps the cake tender.
- Don’t overbake: Keep a close eye on baking times. Test the cake with a toothpick; it should come out clean but not dry.
- Store properly: Keep your cake covered at room temperature or refrigerate it if it’s frosted, to prevent it from drying out.
Can I make the cake ahead of time?
Absolutely! You can bake the cake layers a day ahead. Just wrap them tightly in plastic wrap once they cool, and store them in the fridge. When you’re ready to serve, let them reach room temperature, then frost with your creamy frosting for that fresh-baked taste. For more storage tips, you might want to check out this helpful guide.
What are some common mistakes to avoid?
When making an Old Fashioned Red Velvet Cake, watch out for these pitfalls:
- Skipping the vinegar: This ingredient reacts with baking soda to provide the lift you need for a fluffy cake.
- Not measuring accurately: Use a kitchen scale for precision; too much flour can lead to a dense cake.
- Frosting too soon: Allow the cake to cool completely before frosting to prevent melting.
These insights will not only enhance your baking experience but also elevate your cake-making skills!
Conclusion on Old Fashioned Red Velvet Cake
Why you should try making this classic dessert at home
Creating an Old Fashioned Red Velvet Cake in your own kitchen is a delightful way to bring a piece of Southern tradition to your table. Imagine the joy of enjoying a slice of this tender, richly colored cake, paired with its light and creamy frosting. As a nostalgic family favorite, it’s perfect for gatherings or a special treat just for you.
Ready to dive into some baking? It's time to roll up your sleeves and make memories with this timeless dessert! Check out this link for expert baking tips and find joy in the delicious process.
Old Fashioned Red Velvet Cake
Equipment
- Stand Mixer
- 6” round cake pans
- Paddle Attachment
- rubber spatula
Ingredients
For the Red Velvet Cake
- ½ cup unsalted butter at room temperature
- 1 ½ cup sugar
- 2 large eggs at room temperature
- 1 teaspoon vanilla extract
- 1 tablespoon cocoa powder
- 2 ¼ cup all-purpose flour
- 1 teaspoon baking soda
- 1 teaspoon salt
- 1 cup buttermilk at room temperature
- 2 oz liquid red food color
- 1 teaspoon white vinegar
For the Old Fashioned Frosting
- 3 tablespoon cornstarch
- 1 ½ cup water
- 1 ½ cup unsalted butter at room temperature
- 1 ½ cup sugar
- 2 teaspoon vanilla extract
Instructions
Red Velvet Cake
- Preheat oven to 325°F. Lightly grease three 6” round cake pans with cooking spray and line the bottoms with parchment paper circles.
- In the bowl of a stand mixer fitted with a paddle attachment, cream the butter and the sugar until fluffy and light in color, about 3-5 minutes.
- Slowly add the eggs one at a time and vanilla, combining well after each addition. Mix in the cocoa then scrape the bowl well with a rubber spatula. Mix on high for an additional 30 seconds until the mixture is smooth.

Leave a Reply