
Introduction to Homemade Apple Cider
Making homemade apple cider is not just a fun kitchen experiment; it’s a game-changer for your home. Have you ever tasted fresh cider compared to store-bought options? The difference is like night and day! With the warmth of spices and the sweetness of freshly picked apples, your kitchen can radiate autumn vibes all year round.
One of the best things about preparing your own cider is the ability to customize the flavors to your liking. Want it sweeter? Add a touch more sugar. Prefer it spicier? Throw in a bit more cinnamon. This versatility means that every batch can be unique and tailored to your taste. According to the USDA, making apple cider at home can also be healthier, as you control the ingredients and can avoid preservatives found in many commercially prepared drinks.
Plus, let’s not overlook the environmental aspect. By making homemade apple cider, you’re reducing packaging waste and supporting local apples—what could be more satisfying?
So, are you ready to gather those apples and embark on a fragrant journey? Dive into this recipe and experience the joy of crafting your own version of this beloved beverage. You won't regret it!
Ingredients for Homemade Apple Cider
Key ingredients for a delicious cider
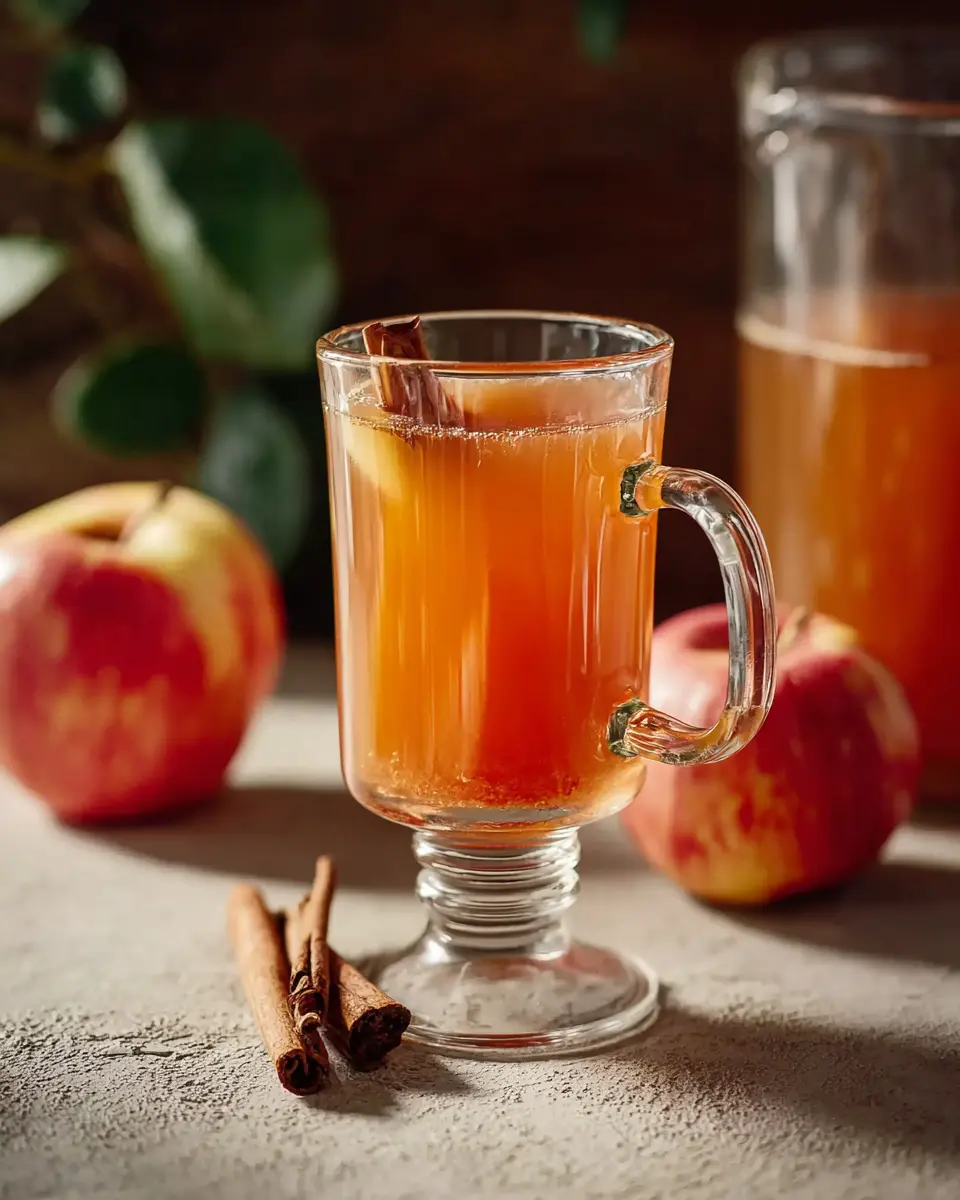
Creating homemade apple cider at home is a fun and fulfilling process, and it all begins with the right ingredients. For a gallon of cider, you’ll need:
- 10 large apples, quartered: Choosing a mix of apples can enhance flavor complexity.
- Water, to cover: This is essential to help with the cooking process.
- ¾ cup white sugar: Sweetens the drink to your preferred taste.
- 1 tablespoon ground cinnamon: Adds warmth and a hint of spice.
- 1 tablespoon ground allspice: Introduces a distinctive flavor profile.
These ingredients lay the foundation for a wonderfully aromatic apple cider that will fill your home with cozy scents.
The importance of apple variety and sweetness
When it comes to apples, variety is key. For a balanced flavor, consider combining sweeter apples like Fuji or Honeycrisp with tart varieties like Granny Smith. According to the Apple Marketing Research Council, the natural sweetness and acidity of different apples create an array of flavor profiles in your homemade apple cider. Remember, the sweeter the apples you choose, the less sugar you'll need to add! Experiment to find your perfect blend, and trust me, your taste buds will thank you.
Step-by-step preparation of Homemade Apple Cider
If you’ve ever thought about making your own homemade apple cider, you’re in for a treat! This comforting beverage is not just delicious; it can fill your home with an irresistible aroma. Let’s dive into the step-by-step process that'll ensure you create a batch that impresses family and friends alike.
Gather your ingredients and tools
Before you roll up your sleeves, it’s essential to gather everything you need. Here’s your shopping list:
- 10 large apples (a mix of sweet and tart varieties is best)
- Water (enough to cover your apples)
- ¾ cup white sugar
- 1 tablespoon ground cinnamon
- 1 tablespoon ground allspice
As for tools, make sure you have:
- A large stockpot
- A fine-mesh sieve or colander
- Cheesecloth (for that smooth finish)
- A wooden spoon for stirring
Having these ready not only saves time but ensures a smoother cider-making experience!
Prepare the apples for cooking
Now that you have your ingredients, give your apples a good wash to remove any lingering pesticides or dirt. Next, quarter them, leaving the skins on—this adds to the flavor! As one would say in a lively kitchen, "the real magic happens when you let those skins soak the flavors in!"
Cooking the apple mixture for maximum flavor
Here’s where the fun begins. Place your quartered apples into the stockpot and cover them with water, making sure there’s at least 2 inches of water above the apples. Sprinkle in the sugar, cinnamon, and allspice.
Bring the mixture to a boil over medium-high heat, stirring occasionally. Allow it to boil uncovered for about 1 hour, then reduce the heat and let it simmer for 2 more hours with the lid on. This is the moment your kitchen transforms into the coziest place on Earth as those scents waft through your home.
Strain and refine the cider
After your apples have cooked down, it’s time to strain this flavorful concoction. Using a fine-mesh sieve, pour your mixture through to separate the solids. Don’t rush; let the liquids drain fully. For an ultra-smooth homemade apple cider, follow up with a strain through cheesecloth. This step will ensure every sip is pure liquid gold, free of uninvited pulp.
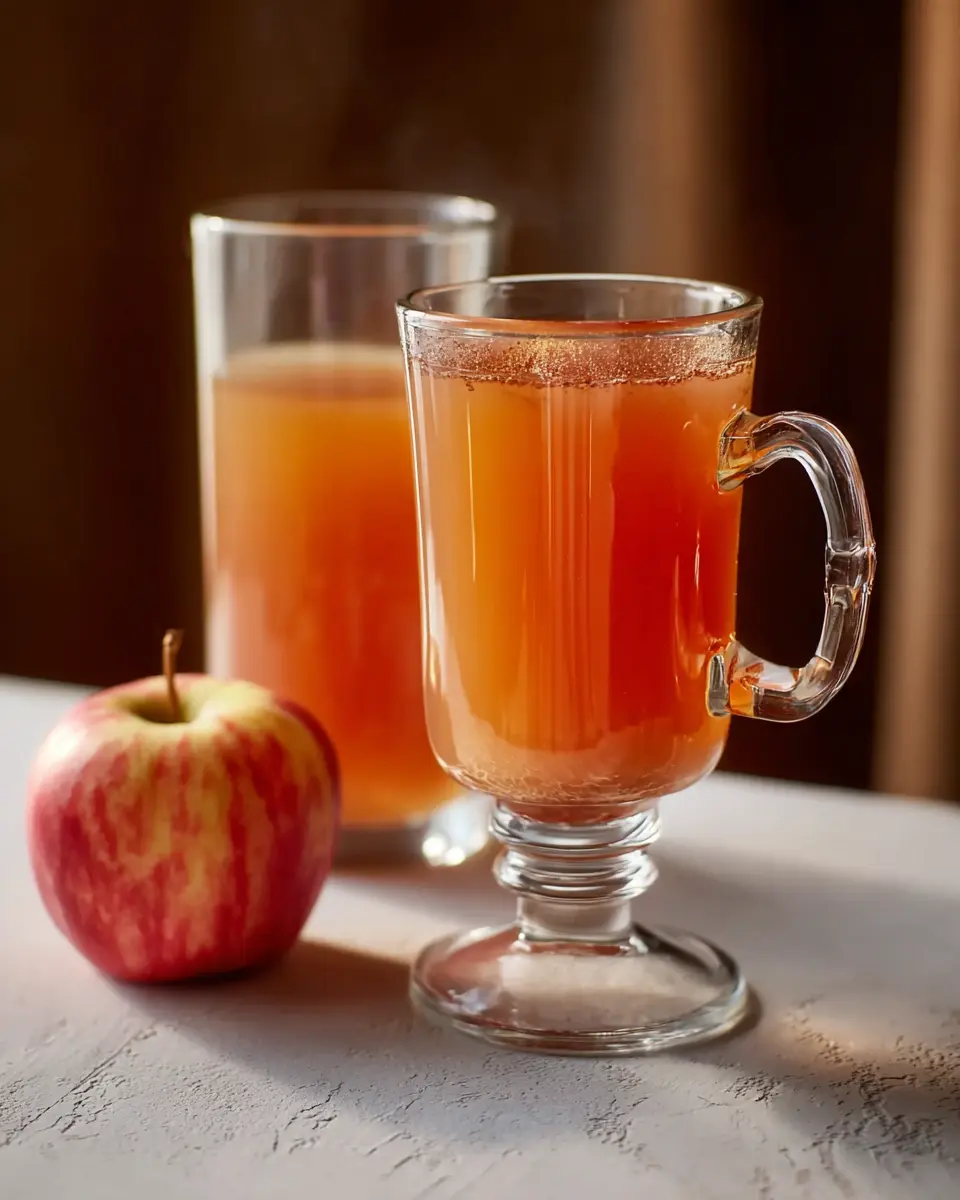
Serve or store your homemade cider
Now that your cider is done, you have a couple of delicious options. You can enjoy it warm, right off the stove, or let it cool down and refrigerate for a refreshing chill. If you have leftovers, don’t worry—homemade apple cider can be frozen in airtight containers for those crisp fall days when you crave a taste of autumn.
Finally, sit back and revel in the fruit of your labor. There's something so satisfying about sipping something you've made from scratch, isn’t there? Share with friends or know you have a delightful treat just waiting for you at home! Happy cider making!
Variations of Homemade Apple Cider
Spiced Cider Variations to Try
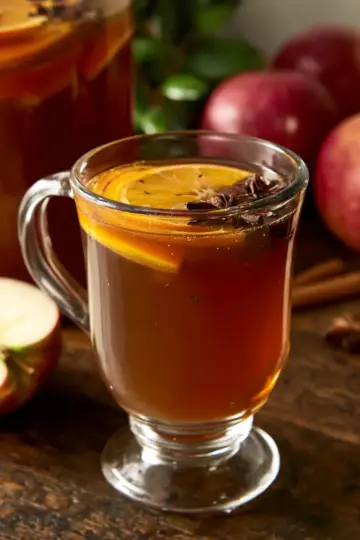
Taking your homemade apple cider to the next level can be as simple as adding a few flavorful spices. Consider incorporating cloves, nutmeg, or even a hint of ginger to create a uniquely warm experience. You can also try adding a splash of vanilla extract or even a handful of cranberries for a festive twist. These additions can transform your cider into a delightful beverage for cozy nights or holiday gatherings.
Sweetened vs. Unsweetened Cider Options
When deciding between sweetened and unsweetened homemade apple cider, consider your flavor preference and intended use. Sweetened cider can be a hit for family gatherings, especially if you're serving it warm. However, if you're keen on enjoying the natural tartness of apples, unsweetened cider allows the fruit's flavors to shine through. Remember, you can always adjust the sweetness after brewing, so don’t hesitate to experiment! Check out resources like The Kitchn for more inspiration on crafting the perfect cider.
Cooking tips and notes for Homemade Apple Cider
Tips for selecting the best apples
Choosing the right apples is crucial for crafting delicious homemade apple cider. Opt for a mix of sweet and tart varieties—think about using Fuji or Honeycrisp for sweetness, combined with Granny Smith or Braeburn for that tangy kick. Aim for apples that are firm and free of blemishes. Fresh, locally sourced apples from farmers' markets often provide the best flavor and quality. For more tips on selecting apples, check out these handy guidelines.
Recommended kitchen tools for ease
To streamline your cider-making process, gather a few kitchen essentials. A large stockpot is key for boiling the apple mixture, while a fine-mesh sieve or cheesecloth will help in straining out the solids. If you have a potato masher, it’s great for mashing the apples before straining, allowing more flavor extraction. Additionally, a good-quality peeler can save you time if you decide to peel your apples. For a cozy touch, consider serving your cider in festive mugs!

Serving suggestions for Homemade Apple Cider
Best occasions for serving cider
There's something magical about homemade apple cider that makes it perfect for numerous occasions. Picture this: a crisp autumn evening, friends gathered around a bonfire, mugs of warm cider in hand. It's the ideal beverage for Halloween gatherings, Thanksgiving feasts, or cozy winter nights. Whether you're hosting a casual get-together or a festive holiday party, warm cider is a comforting touch that sets the mood.
Pairing ideas for a cozy atmosphere
To really elevate your homemade apple cider experience, consider pairing it with seasonal snacks. Think warm, flaky pastries or a cheese platter featuring sharp cheddar and creamy brie. For heartier options, serve it alongside roasted turkey bacon or hearty chicken ham sandwiches. These flavors contrast beautifully with the sweet and spicy notes of the cider, creating a delightful balance.
For more pairing ideas, check out The Kitchn’s Guide to Cider for inspiration!
Time Breakdown for Homemade Apple Cider
Making homemade apple cider is quick and rewarding! Here’s how your time will look:
Preparation Time
Your prep will take about 15 minutes to gather and chop the ingredients.
Cooking Time
Let your pot do the work with a 3-hour cooking process—1 hour boiling followed by 2 hours of simmering.
Total Time
In just over 3 hours and 15 minutes, you’ll have a fragrant batch of warm or chilled apple cider ready to enjoy!
This hands-on activity is a great way to unwind while crafting a delicious drink perfect for cozy evenings or festive gatherings. Check out these tips for more ways to enhance your cider experience!
Nutritional Facts for Homemade Apple Cider
Calories per Serving
A serving of homemade apple cider packs approximately 83 calories. This makes it a delightful treat that's not overly indulgent. Perfect for cozy evenings or gatherings, it’s a fantastic way to enjoy the taste of fall without derailing your nutrition goals.
Vitamins and Minerals in Apple Cider
Rich in essential vitamins and minerals, homemade apple cider offers:
- Vitamin C: 4 mg, supporting your immune system.
- Calcium: 12 mg, contributing to bone health.
- Iron: Minimal but helpful in supporting overall wellness.
- Potassium: 98 mg, vital for heart health and muscle function.
Enhancing your cider with spices like cinnamon can also add extra health benefits. You can check out more about the nutritional benefits of apples from Healthline. Why not enjoy this tasty beverage and reap its rewards?
FAQs about Homemade Apple Cider
How long can you store homemade apple cider?
Homemade apple cider can last in the refrigerator for about 1 week. If you want to enjoy it for longer, consider freezing it in airtight containers. Properly frozen, it can last for up to a year. Just remember to leave some space at the top of the container, as the cider will expand when frozen!
Can I use other fruits in the cider?
Absolutely! While this recipe focuses on apples, adding other fruits can create delicious variations. Think about including pears, cranberries, or even spices like ginger for an extra kick. Just remember that the flavor profile will change slightly; so if you're experimenting, start with small amounts.
What are some common mistakes to avoid?
One common mistake is overcooking the apples, which can lead to a bitter taste. Make sure to simmer gently rather than boil vigorously. It’s also important not to skip the straining process; this helps achieve that delightful, clear cider. For tips on perfecting your process, check out this helpful resource on apple cider making.
Conclusion on Homemade Apple Cider
Making your own homemade apple cider is a delightful way to enjoy the fall season. With just a few simple ingredients and a little time, you'll create a warm, comforting drink that's perfect for gatherings or cozy evenings at home. Don’t forget to share this recipe with friends and family for a taste of homemade goodness!

Homemade Apple Cider
Equipment
- large stockpot
- fine mesh sieve
- cheesecloth
Ingredients
- 10 large apples, quartered
- to cover water
- ¾ cup white sugar
- 1 tablespoon ground cinnamon
- 1 tablespoon ground allspice
Instructions
- Gather the ingredients.
- Place apples in a large stockpot; cover with water by at least 2 inches. Stir in sugar, cinnamon, and allspice. Bring to a boil over medium-high heat. Boil, uncovered, for 1 hour. Reduce heat to low; cover and simmer for 2 hours.
- Strain apple mixture through a fine-mesh sieve; discard solids. Drain cider again through a cheesecloth-lined sieve.
- Serve warm or refrigerate cider until cold.
- Enjoy!


Leave a Reply