
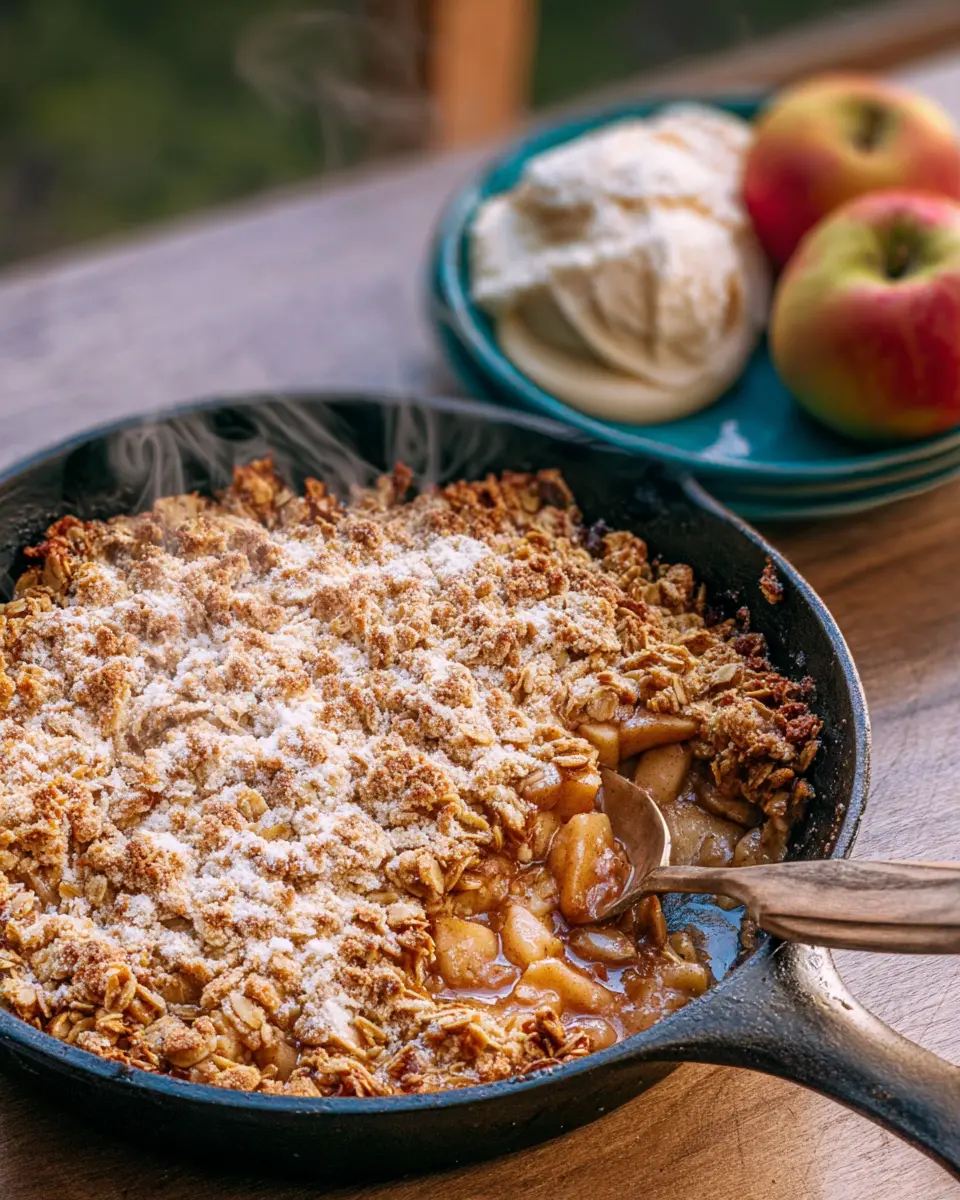
Introduction to Cast Iron Skillet Apple Crisp
Why a Cast Iron Skillet?
Using a cast iron skillet for apple crisp creates a delightful dish that's not only functional but also visually appealing. Cast iron skillets retain heat exceptionally well, ensuring your crisp bakes evenly, giving you that ideal golden topping and perfectly tender apples. Plus, there's something undeniably charming about serving a warm dessert straight from the skillet—it invites everyone to dig in! For an excellent guide on why cast iron is a staple in kitchens, you can check out resources from The Kitchn.
The Perfect Fall Dessert
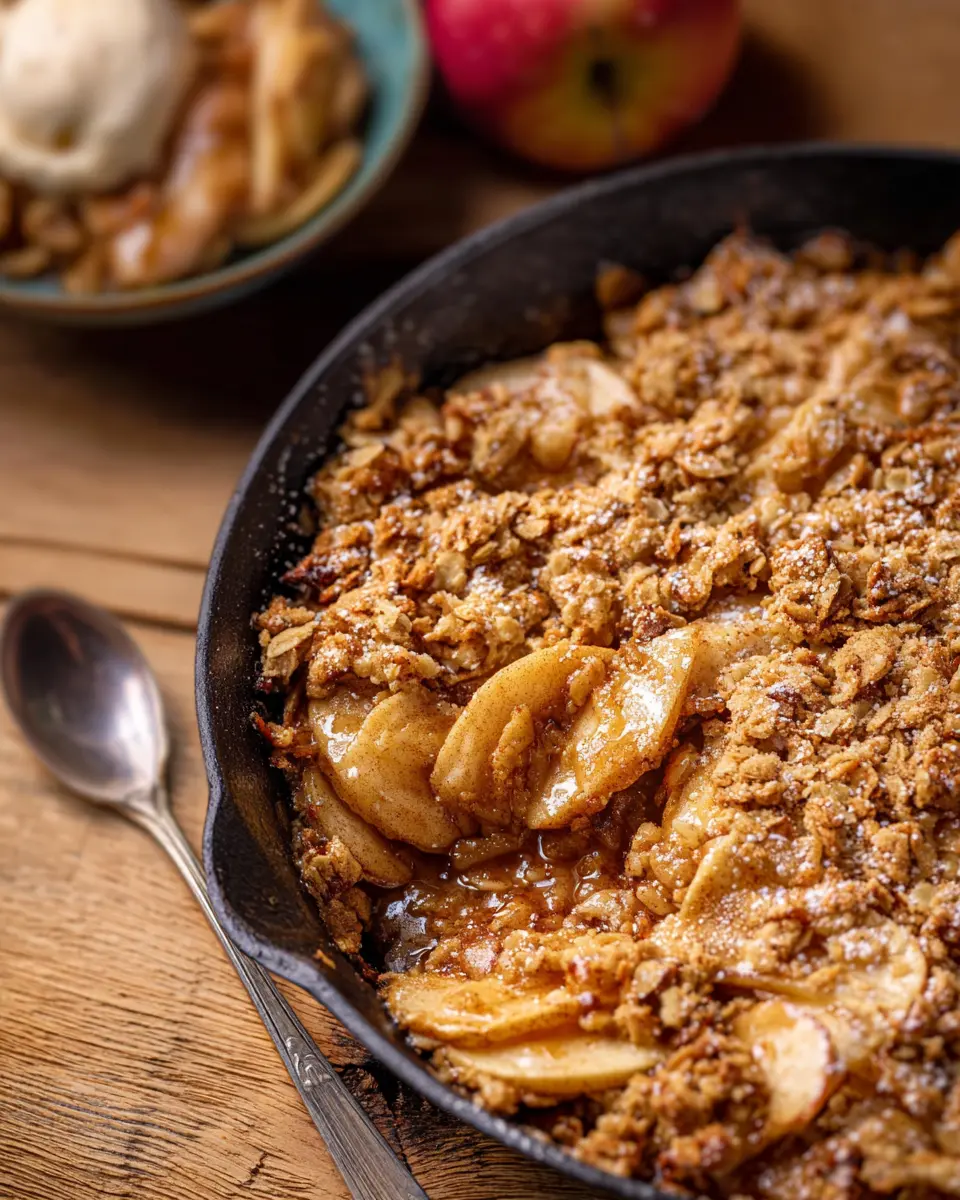
As the leaves change and the air becomes crisp, a cast iron skillet apple crisp is the quintessential fall treat to warm your home and heart. With its gooey apple filling spiced with cinnamon and a crunchy oat topping, this dessert uses simple ingredients to deliver complex flavors. It's an ideal way to utilize those extra apples from your autumn harvest or the local farmer’s market. Plus, what could be better than enjoying it with a scoop of ice cream or a dollop of whipped cream after a long day? It's not just dessert; it's an experience that brings people together!
Ready to create your own warm and comforting cast iron skillet apple crisp? Let’s dive into the recipe!
Ingredients for Cast Iron Skillet Apple Crisp
Creating the perfect cast iron skillet apple crisp is all about using fresh, quality ingredients. Let’s break down the components you’ll need for this delightful dessert.
Filling Ingredients
For the delicious apple filling, you will need:
- 6 medium apples: Choose varieties like Honeycrisp or Granny Smith for a balanced sweetness.
- 3 tablespoons unsalted butter: This will help to create a rich, flavorful base.
- ⅓ cup brown sugar: This adds a lovely sweetness and depth; feel free to choose light or dark brown sugar based on your preference.
- 2 teaspoons ground cinnamon: Essential for that warm, cozy flavor reminiscent of fall.
- ⅛ teaspoon Diamond Crystal kosher salt: A touch of salt enhances the overall flavor.
Topping Ingredients
For the crunchy topping that completes your apple crisp, gather:
- 1 ¼ cup old fashioned oats: These provide the perfect texture.
- 2 tablespoons all-purpose flour: This helps bind the topping while baking.
- 5 tablespoons cold unsalted butter: Cold butter will ensure a flaky topping when baked.
- ⅓ cup brown sugar: Again, for that sweet caramelized flavor.
- ⅛ teaspoon Diamond Crystal kosher salt: Just a hint to balance the sweetness.
- Sprinkle of ground cinnamon: To tie it all together with the apple filling.
Now that you're set with your ingredients, you're well on your way to crafting a delicious cast iron skillet apple crisp. For more tips on using fresh ingredients, check out this guide on apple varieties for your next baking adventure!
Step-by-Step Preparation of Cast Iron Skillet Apple Crisp
Creating a delicious cast iron skillet apple crisp is a delightful way to bring autumn into your kitchen. Let’s walk through each step, turning simple ingredients into a heartwarming dessert that’s perfect for sharing. Grab your apron, and let’s get started!
Prepping the Apples
Start by preheating your oven to 350°F (175°C). While it warms up, take about six medium apples—think Honeycrisp, Granny Smith, or Pink Lady (to avoid the less flavorful Red Delicious)—and get chopping. Peel, core, and dice them into small pieces, placing them in a large mixing bowl. This initial step might seem simple, but the choice of apples is crucial; a mix of tart and sweet varieties will enhance the flavor profile. For more on selecting the best apples, check out this helpful guide from the U.S. Apple Association.
Make the Filling
Next, let’s prepare the filling. In a 10-inch cast iron skillet, melt 3 tablespoons of unsalted butter over medium-low heat. Once it’s all melted, whisk in ⅓ cup of brown sugar, 2 teaspoons of ground cinnamon, and a pinch of kosher salt. This buttery, sweet mix will elevate your apples. Pour this delightful mixture over the apple pieces and toss them to coat every slice generously. Place the skillet back on medium heat and let the mixture cook for about five minutes. You want the apples to start softening—trust me, your kitchen will smell heavenly!
Prepare the Topping
While the apples work their magic, it’s time to get that crispy topping ready. In a medium mixing bowl, combine 1¼ cups of old-fashioned oats, 2 tablespoons of all-purpose flour, ⅓ cup of brown sugar, and ⅛ teaspoon of kosher salt. Add the 5 tablespoons of cold, cubed unsalted butter, and mix using your hands or a pastry cutter. The goal is to have small lumps of butter throughout, which will create a wonderfully crunchy texture once baked. Don’t forget to sprinkle a bit of ground cinnamon into the mix for that autumnal flavor.
Combine Filling and Topping
Once your apple filling has slightly cooled, pour it back into the skillet if necessary (no need to dirty another dish!). Evenly distribute the topping over the apple mixture, ensuring every inch is covered. This is where the magic happens—the buttery oats will toast beautifully as they bake, creating a satisfying crunch against the soft, sweet apples.
Bake the Apple Crisp
Now, let’s bake! Slide the skillet into your preheated oven and let it cook for 35–40 minutes. You’ll know it’s done when the apples are tender and bubbling, and the topping turns a golden brown. After baking, let your cast iron skillet apple crisp cool for around 30 minutes before serving. This waiting game might be tough, but it's worth it—warm, comforting, and full of flavors that will delight your taste buds. Enjoy with a scoop of ice cream for an irresistible treat!
Now that you have the complete preparation steps, enjoy your homemade apple crisp—it’s bound to impress both family and friends alike!
Variations on Cast Iron Skillet Apple Crisp
Nutty Apple Crisp
Looking to add a little crunch to your cast iron skillet apple crisp? Consider incorporating some chopped nuts into the topping. Walnuts or pecans add a delightful texture and rich flavor that complements the sweetness of the apples. Just toss in about ½ cup when mixing your oats and flour, and you’ll have a nutty twist that’s sure to impress your family and friends!
Spiced Apple Crisp
For a fun seasonal flair, try adding a mix of spices to your cast iron skillet apple crisp. Along with the traditional cinnamon, consider incorporating nutmeg, allspice, or even a hint of ginger. A teaspoon of vanilla extract in the filling can further elevate the flavors. This blend creates a warm, aromatic dessert that embodies the cozy spirit of fall.
Experimenting with these variations not only keeps your dessert interesting but also lets you tailor it to your taste!
Cooking Tips and Notes for Cast Iron Skillet Apple Crisp
When preparing this delicious cast iron skillet apple crisp, keep these helpful tips in mind to ensure the best results:
-
Select the Right Apples: Use a blend of sweet and tart apples like Honeycrisp, Granny Smith, or Braeburn to balance flavors. A mix really enhances the taste!
-
Prepping Efficiently: To speed up the peeling and coring process, try using an apple peeler. It's a lifesaver, especially when you’re making dessert for a group.
-
Maintain Texture: For that perfect crisp topping, don’t overmix. Keep small lumps of butter and oats; they’ll create a delightful crunch as they bake.
-
Serving Suggestions: Serve your apple crisp warm with a scoop of vanilla ice cream or dollop of whipped cream for an extra indulgent touch. Have you ever tried drizzling caramel sauce over it?
-
Storage and Reheating: Leftovers can be stored in the fridge for a few days. Reheat in the oven for a few minutes to restore that delicious texture!
For more insights on apple varieties, check out this guide. Enjoy your cooking adventure!
Serving Suggestions for Cast Iron Skillet Apple Crisp
Best Pairings
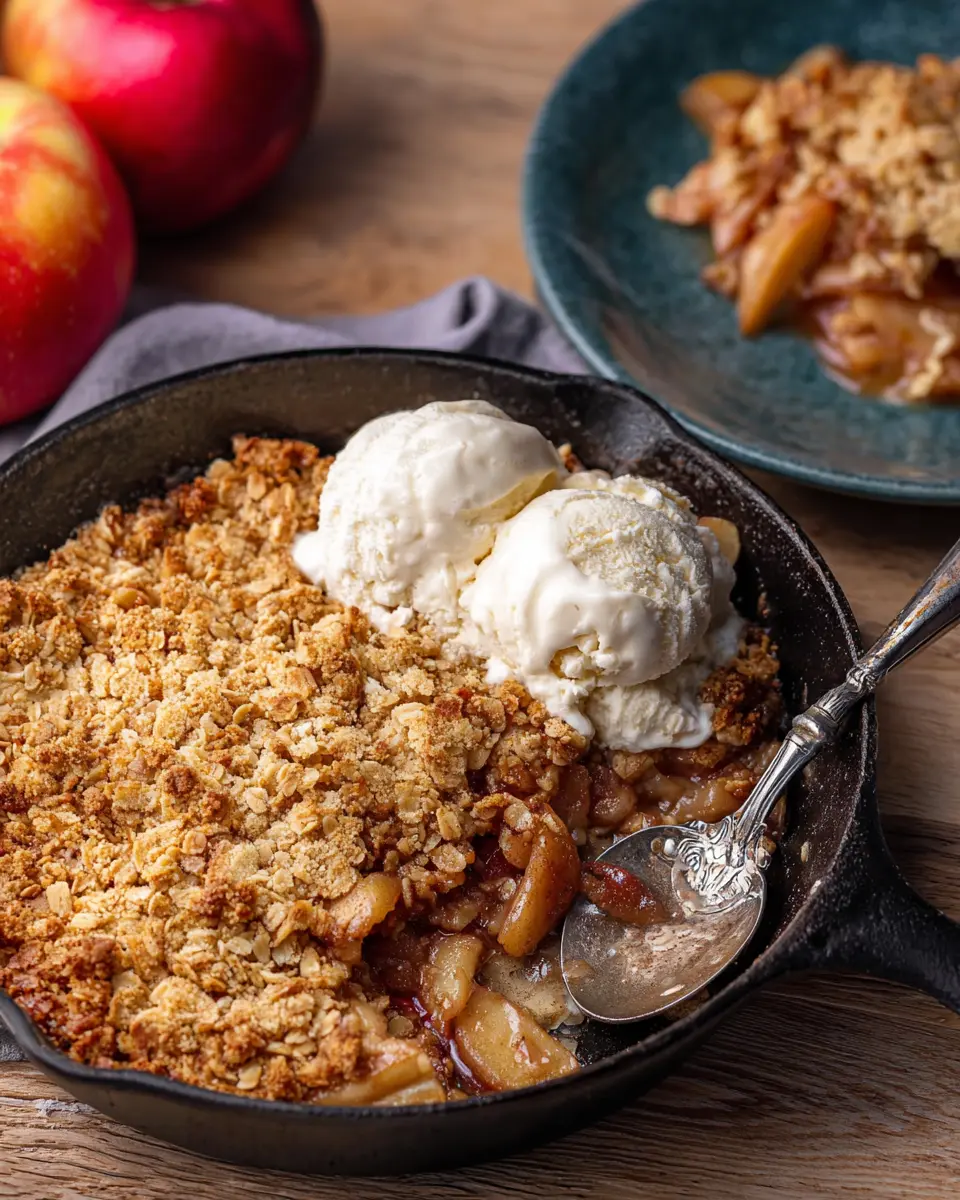
When serving your cast iron skillet apple crisp, consider pairing it with a scoop of rich vanilla ice cream or a dollop of freshly whipped cream. Not only do they add a creamy contrast to the warm, spiced apples, but they also elevate the indulgence factor significantly. For a fun twist, try drizzling caramel sauce over the top or serving it with a dash of Greek yogurt for some tanginess.
Creative Serving Ideas
Imagine serving your apple crisp directly from the skillet for a rustic touch at your gathering. You can also portion it into individual ramekins for a more elegant presentation. Add a sprinkle of nuts or granola on top for added crunch and texture. For a seasonal addition, garnish with thin slices of fresh apple or a sprinkle of chopped pecans. Don't forget a tasty beverage pairing—like hot cider or a warm spiced tea—to complete the cozy experience.
Time Breakdown for Cast Iron Skillet Apple Crisp
Creating a delightful cast iron skillet apple crisp is simple when you break down the time required! Here’s a quick guide to help you plan.
Prep Time
Get started by setting aside 10 minutes for peeling, coring, and cutting your apples. This efficient prep ensures everything runs smoothly when you're ready to cook.
Cook Time
Once prepped, you’ll need about 40 minutes for baking in the oven. During this time, the apples will soften, releasing their delicious flavors, while the topping becomes irresistibly crunchy.
Total Time
In total, you’re looking at approximately 1 hour and 20 minutes from start to finish. This includes a brief 30-minute resting period to allow the crisp to set up perfectly for serving.
Be sure to check out this resource for more tips on enhancing your apple crisp experience! Enjoy the process, and savor the wonderful aroma that fills your kitchen!
Nutritional Facts for Cast Iron Skillet Apple Crisp
Calories
A serving of this delightful cast iron skillet apple crisp contains approximately 350 calories. This makes it a comforting treat that won’t completely derail your day’s nutrition.
Protein
Each serving provides about 4 grams of protein, thanks to the combination of oats and the small amount of flour in the topping. While it’s not a protein powerhouse, it balances nicely with the sweetness of apples.
Dietary Information
This recipe is vegetarian and can be easily modified to fit a vegan diet by substituting the butter with coconut oil or a plant-based alternative. It’s also a great way to enjoy seasonal fruits. For full dietary specifics, consider checking resources like the USDA FoodData Central for detailed nutritional profiles.
By embracing these nutritional facts, you can indulge responsibly in this delicious apple crisp. Enjoy every bite, knowing you’re treating yourself to a well-rounded dessert!
FAQs about Cast Iron Skillet Apple Crisp
Can I use different types of apples?
Absolutely! Using a mix of apple varieties can elevate your cast iron skillet apple crisp. Popular choices include Honeycrisp, Granny Smith, and Braeburn. Each type has its own flavor profile and texture—sweet, tart, or crisp—that adds depth to your dish. Just remember to avoid Red Delicious apples, as they tend to get mushy and less flavorful when baked.
How do I store leftovers?
Storing your cast iron skillet apple crisp is easy. Simply cover it with foil or transfer it to an airtight container. It can be kept in the refrigerator for up to three days. When you're ready to enjoy it again, you can reheat it in the oven at 350°F until warmed through or microwave individual portions.
Can I make this ahead of time?
Yes! You can prep the filling and topping separately a day in advance. Just combine them before you're ready to bake. If you're really pressed for time, assembling the cast iron skillet apple crisp in advance and storing it in the fridge will work too. Just allow extra baking time since it's going in cold!
Conclusion on Cast Iron Skillet Apple Crisp
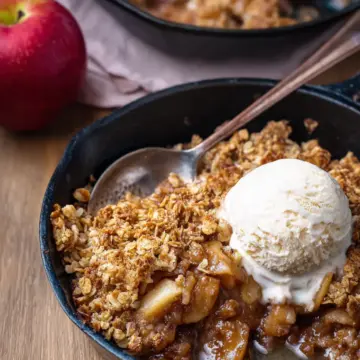
In summary, this cast iron skillet apple crisp is more than just a dessert—it’s a cherished fall tradition! With its simple ingredients and warm, cozy flavors, it's sure to be a hit with family and friends. Don’t forget to serve it warm with a scoop of ice cream to elevate the experience!
Cast Iron Skillet Apple Crisp
Equipment
- Cast Iron Skillet
Ingredients
Filling
- 6 medium apples peeled, cored and cut into small pieces
- 3 tablespoons unsalted butter
- ⅓ cup brown sugar
- 2 teaspoons ground cinnamon
- ⅛ teaspoon Diamond Crystal kosher salt
Topping
- 1 ¼ cup old fashioned oats
- 2 tablespoons all purpose flour
- 5 tablespoons cold unsalted butter cut into 5 pieces
- ⅓ cup brown sugar
- ⅛ teaspoon Diamond Crystal kosher salt
- ground cinnamon for sprinkling
Instructions
Prepping the Apples
- Preheat the oven to 350F.
- Add cut up, peeled and cored apple slices to a large mixing bowl and set aside.
Make the Filling
- Preheat a 10 inch cast iron skillet over medium low heat and melt the butter for the filling.
- Once the butter is melted, whisk in brown sugar, cinnamon and salt.
- Pour the butter mixture over the apples in the mixing bowl and toss until the apples are well coated.
- Add the apples and butter mixture back into the skillet and turn the heat up to medium. Stir occasionally while it cooks for 5 minutes, until the apples begin to soften. Remove the pan from the heat, but keep the apple mixture in it.
- After the apples are partially cooked, cut the 5 tablespoons of butter into 5 separate pieces.
Make the Topping
- Add all the toppings EXCEPT the ground cinnamon into a medium mixing bowl. Combine ingredients using either your hands or a pastry cutter. It is okay to have small lumps of butter throughout the mixture.
- Top the apples in the skillet with the topping evenly and sprinkle on the cinnamon. Place in the oven.
Bake
- Cook for 35-40 minutes, until the apples are tender, slightly bubbling and the topping is crunchy.
- Allow to rest and cool at room temperature for about 30 minutes before serving.


Leave a Reply