
Introduction to Cheeseburger Sliders
Why Everyone Loves Sliders
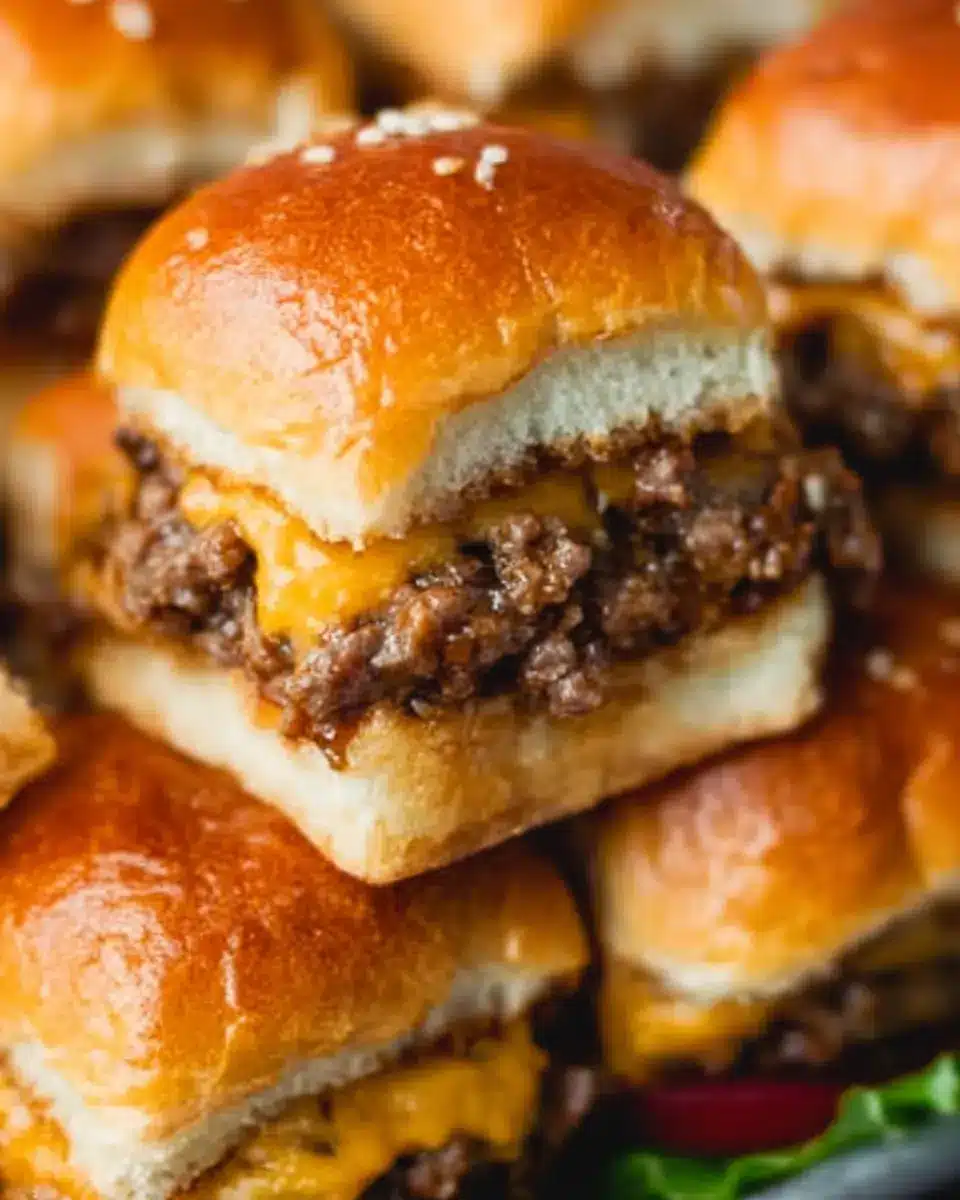
Have you ever noticed how people light up at the sight of sliders? There’s just something irresistible about these bite-sized treasures. Cheeseburger sliders, in particular, combine the classic appeal of a juicy burger with the fun of a mini snack. Perfect for gatherings or a cozy night in, sliders are great because they encourage sharing and experimentation—mixing toppings and flavors to suit everyone’s taste buds. Plus, they’re easy to make, which is a huge win for busy young professionals!
The Quick and Satisfying Nature of Cheeseburger Sliders
When life gets hectic, finding the time to prepare a heartfelt meal can be challenging. Thankfully, cheeseburger sliders can come to the rescue! In just 30 minutes, you can whip up a platter of savory goodness that’s sure to satisfy your cravings. With just a handful of ingredients and minimal prep time, these sliders transform a simple meal into a tasty feast. Imagine the smiles as you pull a tray out of the oven, the aroma filling the room—there's truly nothing like it!
So, are you ready to dive into this simple yet delicious recipe? Let’s get cooking!

Ingredients for Cheeseburger Sliders
Ground Beef and Cheese
For the heart of your Cheeseburger Sliders, you'll need 2 pounds of quality lean ground beef (90/10 or 93/7 fat content is ideal). This ensures your sliders remain juicy without being overly greasy. Add a comforting layer of cheese with 8 slices of medium cheddar and 6 ounces of shredded cheddar, creating that deliciously melty goodness that everyone loves.
Essential Spices and Aromatics
To amplify flavors, don’t skip the spices! You’ll use 1 teaspoon each of salt, black pepper, and garlic powder—these three are the unsung heroes of practically any beef dish. Don’t forget a half onion, finely diced, for that aromatic touch that enhances every bite. Plus, a kick of acidity from ¼ cup of mayonnaise ties all those flavors together beautifully!
Buns and Toppings
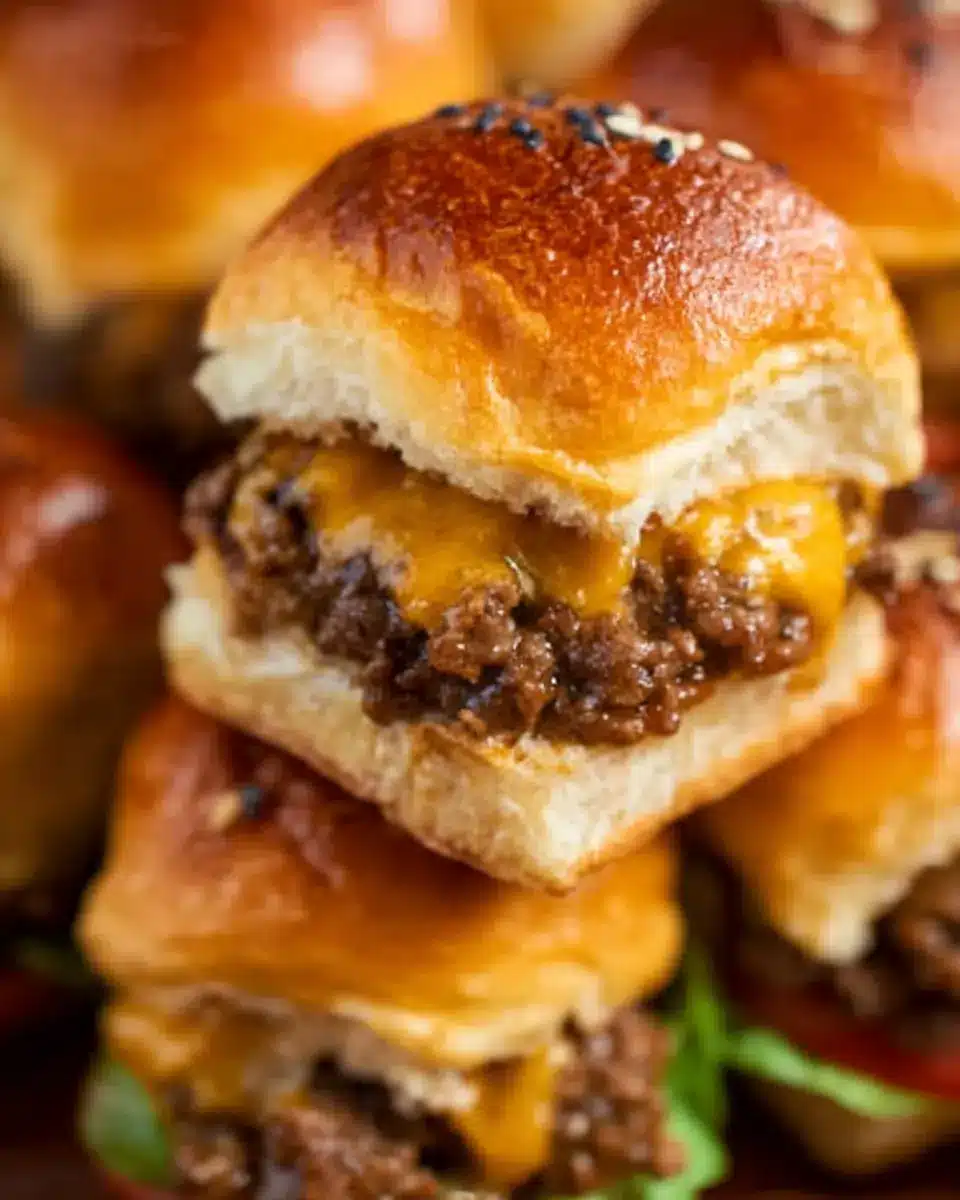
These sliders need a sturdy base; opt for 24 dinner rolls (two packs of 12). To really elevate the experience, brush the tops with 2 tablespoons of melted butter and sprinkle with sesame seeds. To personalize your sliders, think about toppings like lettuce, tomato, or even pickles! Check out Food Network for more ideas on how to customize your toppings for a unique twist!
Step-by-step Preparation of Cheeseburger Sliders
Creating Cheeseburger Sliders is not just about throwing together a few ingredients; it’s about crafting a delicious experience that everyone will love. Let’s walk through the steps to whip up these delightful bites, which are perfect for game nights, parties, or a cozy family dinner.
Gather your ingredients
Before you dive into cooking, it’s essential to have everything at hand for a smooth preparation process. Here’s what you’ll need:
- 2 lb lean ground beef (aim for a 90/10 fat content for juicy sliders)
- ½ tablespoon olive oil
- 1 teaspoon each of salt, black pepper, and garlic powder
- ½ large yellow onion, finely diced
- ¼ cup mayonnaise
- 8 slices medium cheddar cheese
- 6 oz shredded cheddar (or more sliced cheese if you prefer)
- 24 dinner rolls (two packs of 12 work well)
- 2 tablespoon unsalted butter, melted
- 1 tablespoon sesame seeds
When shopping, you might want to check the time-saving tips on Serious Eats for preparing your ingredients ahead of time!
Cook the beef mixture
Now comes the fun part! Heat a large skillet on medium-high and add the olive oil. Toss in the diced onion, letting it sizzle for a minute before adding the ground beef. Break the beef apart with a spatula, ensuring it’s evenly seasoned with salt, black pepper, and garlic powder. Cook until the meat is no longer pink, usually about 8-10 minutes.
Once cooked through, spoon off any excess fat (we want flavor, not grease!) and stir in the mayonnaise. This not only adds creaminess but also helps bind the sliders together.
Assemble the sliders
With the beef mixture ready, it’s time to assemble those Cheeseburger Sliders! Start by cutting the dinner rolls in half and placing the bottom halves on a buttered baking sheet. Layer on the sliced cheese, then evenly spread the beef mixture over it. Don't be shy—use the spatula to spread it out! Top with the shredded cheddar for that extra cheese pull.
Cap it all off with the top halves of the rolls, brushing them generously with melted butter. Sprinkle sesame seeds for that classic touch.
Bake and melt the cheese
Pop your assembled sliders into a preheated oven at 350˚F for about 12-15 minutes. You’ll know they’re ready when the cheese is beautifully melted, and the tops are golden brown. The smell alone will be irresistible!
Serve warm and enjoy!
Once out of the oven, slice these little beauties into individual sliders. Serve them warm, and watch everyone dive in. You can even set up a toppings bar with options like pickles, onions, and your favorite sauces for a fun, customizable twist.
These Cheeseburger Sliders are sure to become a household favorite, and trust me, you’ll be adding this recipe to your regular rotation!
Variations on Cheeseburger Sliders
Classic Cheeseburger Sliders with Different Cheeses
Why limit yourself to just cheddar when crafting your cheeseburger sliders? Experiment with a variety of cheeses! Try creamy gouda for a rich flavor, or sharp provolone for a unique twist. You can even mix it up with pepper jack for a spicy kick—perfect for those who love a little heat in their burger.
Vegetarian Sliders for Meat-Free Nights
Looking for a meat-free option? Create delicious vegetarian sliders using black beans or lentils. You can also use flavorful ingredients like grilled portobello mushrooms or roasted chickpeas. Topped with avocado and pepper jack cheese, these sliders will satisfy both veggie lovers and carnivores alike. Curious about more alternatives? Check out this resource for more ideas!
Cooking Tips and Notes for Cheeseburger Sliders
Tips for a Juicy Slider
To ensure juiciness in your Cheeseburger Sliders, consider using ground beef with a fat content of 90/10 or 93/7. Incorporating a bit of mayo into the beef mix adds moisture, and grilling the sliders instead of pan-frying can enhance that flavorful char. Don’t forget to let the beef rest a few minutes after cooking; this helps retain those delicious juices.
Importance of Cooking Time
Cooking time is key to achieving that perfect slider. Aim for 12-15 minutes in the oven at 350˚F—this ensures that the cheese melts beautifully without overcooking the beef. Using a meat thermometer can be handy; 160˚F is the sweet spot for perfectly done burgers. Keep an eye on them to avoid dryness! For more advice on cooking times and methods, check out this article.
Serving Suggestions for Cheeseburger Sliders
Pairing with Sides
To elevate your Cheeseburger Sliders experience, consider pairing them with classic sides. Crispy sweet potato fries or a fresh garden salad add a delightful crunch. For a fun twist, serve them alongside homemade coleslaw or zesty pickles. If you're hosting a gathering, try a platter of potato chips or onion rings for that crispy satisfaction that balances the juicy sliders!
Creative Presentations
Presentation matters! Stack your Cheeseburger Sliders on a rustic wooden board or a vibrant platter for visual appeal. Use small toothpicks to secure each slider and add a pop of color with cherry tomatoes or fresh herbs on the side. This small touch can spark conversation and makes your dish truly Instagram-worthy. Want to impress more? Try mini serving bowls filled with various dipping sauces like tangy barbecue or creamy ranch!
Time Breakdown for Cheeseburger Sliders
Preparation time
Getting ready to cook is a breeze! You’ll only need about 8 minutes to gather your ingredients and prepare the beef mixture. Think of it like a quick pit stop at your favorite fast-casual burger joint.
Cooking time
Once your sliders are prepped, they’ll take about 22 minutes in the oven. During this time, you can set the table or whip up a refreshing side salad.
Total time
In just 30 minutes, you can serve up these delicious cheeseburger sliders, making them perfect for weeknight dinners or casual gatherings with friends. Quick, easy, and oh-so-satisfying!
For more tips on creating the perfect slider experience, check out this slider guide.
Nutritional Facts for Cheeseburger Sliders
Understanding the nutritional content of your favorite dishes is essential, especially when you’re whipping up Cheeseburger Sliders for friends or a cozy night in. Here’s a quick snapshot of what each slider offers:
Calories per slider
Each cheeseburger slider comes in at approximately 266 calories. This makes them a satisfying yet manageable treat for your meal planning.
Protein content
Protein lovers rejoice! Each slider packs in about 15 grams of protein, thanks to the lean ground beef. It's a great way to fuel your body without compromising on flavor.
Fat content
You can expect around 15 grams of fat per slider. Opting for lean ground beef helps keep this in check while still delivering that classic cheeseburger taste.
For more insights on the benefits of protein in your diet, check out Healthline’s article on protein. Having a mindful approach to nutrition, especially with delicious recipes like Cheeseburger Sliders, can make a substantial difference in your overall well-being!
FAQs about Cheeseburger Sliders
Can I make these sliders in advance?
Absolutely! Cheeseburger sliders are perfect for meal prep. You can assemble them ahead of time and store them in the refrigerator. Just bake them the same day or the night before your gathering for a quick and delicious treat.
What are some bun alternatives?
If you're looking to switch things up, try these alternatives:
- Lettuce wraps: Great for a low-carb option.
- Gluten-free rolls: Perfect for gluten-sensitive friends.
- Pita or naan bread: Offers a flavorful twist!
How do I store leftover sliders?
To keep your sliders fresh, store any leftovers in an airtight container in the refrigerator. They will last about 3-4 days. When you're ready to enjoy them again, simply reheat in the oven to restore their cheesy goodness. If you want tips on how to store them properly, check out The Kitchn's guide.
Feel free to explore and enjoy these cheesy nuggets of joy!
Conclusion on Cheeseburger Sliders
In conclusion, Cheeseburger Sliders are not just a meal; they’re an experience! Perfect for gatherings or a cozy night in, they’re easy to prepare and sure to please. With juicy beef, melted cheese, and customizable toppings, your slider night is bound to be a hit. Try them out!
Cheeseburger Sliders
Equipment
- Skillet
- baking sheet
Ingredients
- 2 lb lean ground beef (90/10 or 93/7 fat content)
- ½ tablespoon olive oil
- 1 teaspoon salt
- 1 teaspoon black pepper
- 1 teaspoon garlic powder
- ½ large yellow onion finely diced
- ¼ cup mayonnaise
- 8 slices medium cheddar cheese
- 6 oz medium cheddar shredded (or used more sliced cheese)
- 2 tablespoon unsalted butter melted, plus more to grease baking sheet
- 1 tablespoon sesame seeds
Instructions
- Preheat oven to 350˚F. Butter the bottom of a rimmed baking sheet.
- Place a large skillet over medium/high heat with ½ tablespoon olive oil. Add diced onion then 2 lbs ground beef and break up with a spatula. Season with 1 teaspoon salt, 1 teaspoon black pepper, and 1 teaspoon garlic powder. Sautee over medium/high heat, breaking up the beef and cook just until cooked through then remove from heat.
- Tilt skillet to spoon off and discard excess fat. Stir ¼ cup mayo into the ground beef.
- Cut buns in half. Place bottom half of dinner rolls on buttered baking sheet and line bread with sliced cheese. Spread ground beef mixture evenly over the sliced cheese, using the back of a spatula to square off the edges. Cover the ground beef with 6 oz of shredded cheddar.
- Place the top of buns, cut-side down, over the burgers. Brush tops with 2 tablespoon melted butter and immediately sprinkle tops with sesame seeds. Bake at 350˚F for 12-15 minutes, or until cheese is melted and tops are golden brown.


Leave a Reply