
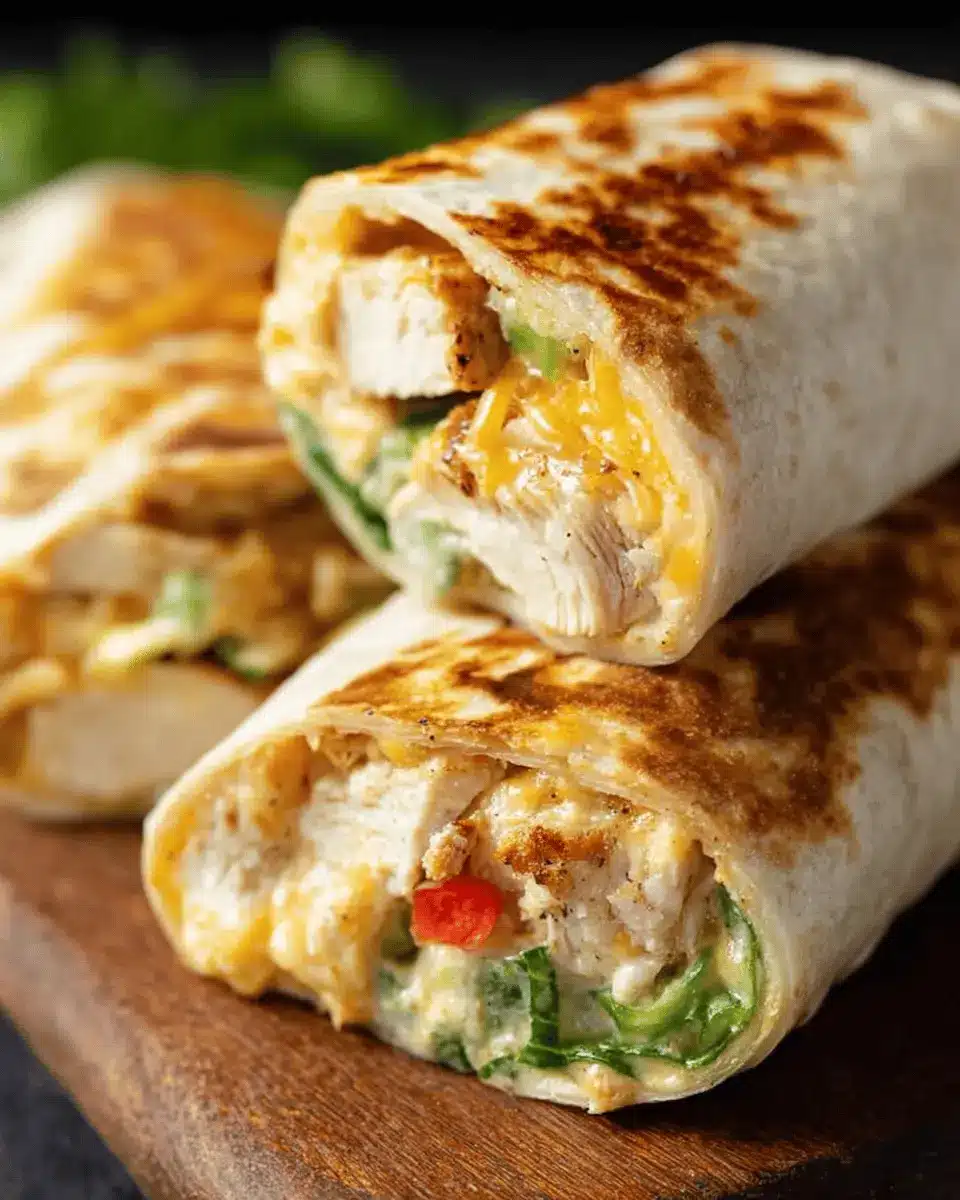
Introduction to Cheesy Garlic Chicken Wraps
If you’re a busy young professional juggling work and social life, homemade wraps can revolutionize your meal prep game. Enter the Cheesy Garlic Chicken Wraps! Not only are these delicious wraps a tasty solution for lunch or dinner, but they also embody the perfect balance of convenience and nourishment. You can whip them up in a mere 22 minutes, which leaves you more time for the things you love.
Why settle for takeout when you can savor a homemade creation that’s loaded with protein and bursting with flavor? Imagine biting into a crispy tortilla crunch that reveals a gooey, garlicky chicken filling. Studies show that cooking at home can save you money—up to 60% cheaper than eating out regularly (source: Harvard Business Review). Plus, making your own meals allows you to control the ingredients, reducing sodium and other additives.
So, grab your favorite tortillas and let’s transform chicken into a delectable wrap that’s both filling and nutritious. The beauty of these wraps is their versatility; you can mix and match ingredients based on your cravings and what’s in your pantry! Ready to dive in?
Essential Ingredients You'll Need for a Delicious Wrap
When crafting your Cheesy Garlic Chicken Wraps, it's key to have all the right ingredients on hand to ensure that each bite is bursting with flavor. Here’s your shopping list:
- Tortillas: Two large tortillas provide the perfect base. You can opt for regular or low-carb/high-protein varieties, depending on your dietary preferences.
- Cooked Chicken: About 7 oz (200 grams) of chopped cooked chicken is essential. Rotisserie chicken is a convenient option that adds great flavor.
- Garlic: Use 2 minced or grated garlic cloves to achieve that aromatic garlic deliciousness.
- Mayonnaise and Greek Yogurt: A combination of 2 tablespoons of light mayonnaise and 1 tablespoon of light Greek yogurt enriches the wrap’s creaminess.
- Hot Sauce: One tablespoon of your favorite hot sauce, like Frank’s, adds just the right kick.
- Salt: A touch of salt (¼ teaspoon) enhances all the flavors harmoniously.
- Cheese: About 3 oz (90 grams) of grated cheese—like a cheddar blend—delivers that gooey, melty texture we crave.
- Green Onions: Chopped green onions add a fresh crunch to the mix.
- Olive Oil Spray: Perfect for achieving that crispy, golden outside.
These ingredients come together to create a high-protein meal that's sure to satisfy your lunch or dinner cravings! Need more tips? Check out this handy chicken cooking guide for additional inspiration!
Preparing Cheesy Garlic Chicken Wraps
Creating your very own Cheesy Garlic Chicken Wraps is an unparalleled delight! With crunchy outsides and a warm, gooey filling, these wraps are bound to become a dinner staple. Let's take a step-by-step journey to prepare them, making it easier and more enjoyable for you.
Gather and Prepare Your Ingredients
Before diving into the cooking process, take a moment to gather all your ingredients. Having everything within reach makes a world of difference:
- Tortillas: Grab 2 large ones; choose either regular or low-carb/high-protein, depending on your dietary preference.
- Cooked Chicken: About 7 oz, chopped. Rotisserie chicken works wonders for convenience and flavor.
- Garlic: Mince or grate 2 garlic cloves (feel free to adjust based on your love for garlic).
- Light Mayo and Greek Yogurt: A couple of tablespoons of each for that creamy texture.
- Hot Sauce: Just a tablespoon adds a kick – Frank’s is a fantastic choice!
- Cheese: 3 oz of your favorite type (cheddar blends wonderfully!).
- Green Onion: Adds a lovely fresh touch.
- Olive Oil Spray: For that golden, crispy finish.
With your ingredients at the ready, the fun begins!
Mix the Chicken and Seasoning for That Tasty Filling
In a mixing bowl, combine the chopped chicken, garlic, light mayonnaise, Greek yogurt, hot sauce, and salt. This is where the magic happens! Stir until all the ingredients are well-blended and the chicken is coated evenly. The creaminess of the mayo and yogurt complemented by the robust garlic and spice will make this filling irresistible. Did you know that garlic is not only flavorful but also has numerous health benefits, such as boosting the immune system and reducing inflammation? WebMD provides great insights on this if you're curious!
Assemble the Wraps with a Cheesy Twist
Lay out your tortilla and start building your wrap! On the lower third of the tortilla, sprinkle about 2 tablespoons of cheese. Follow with roughly ⅔ cup of your chicken mixture, then add another tablespoon of cheese along with a sprinkle of chopped green onion for some color and crunch. Now, fold in the sides of the tortilla and roll it up tightly from the bottom, ensuring all that cheesy goodness stays inside.
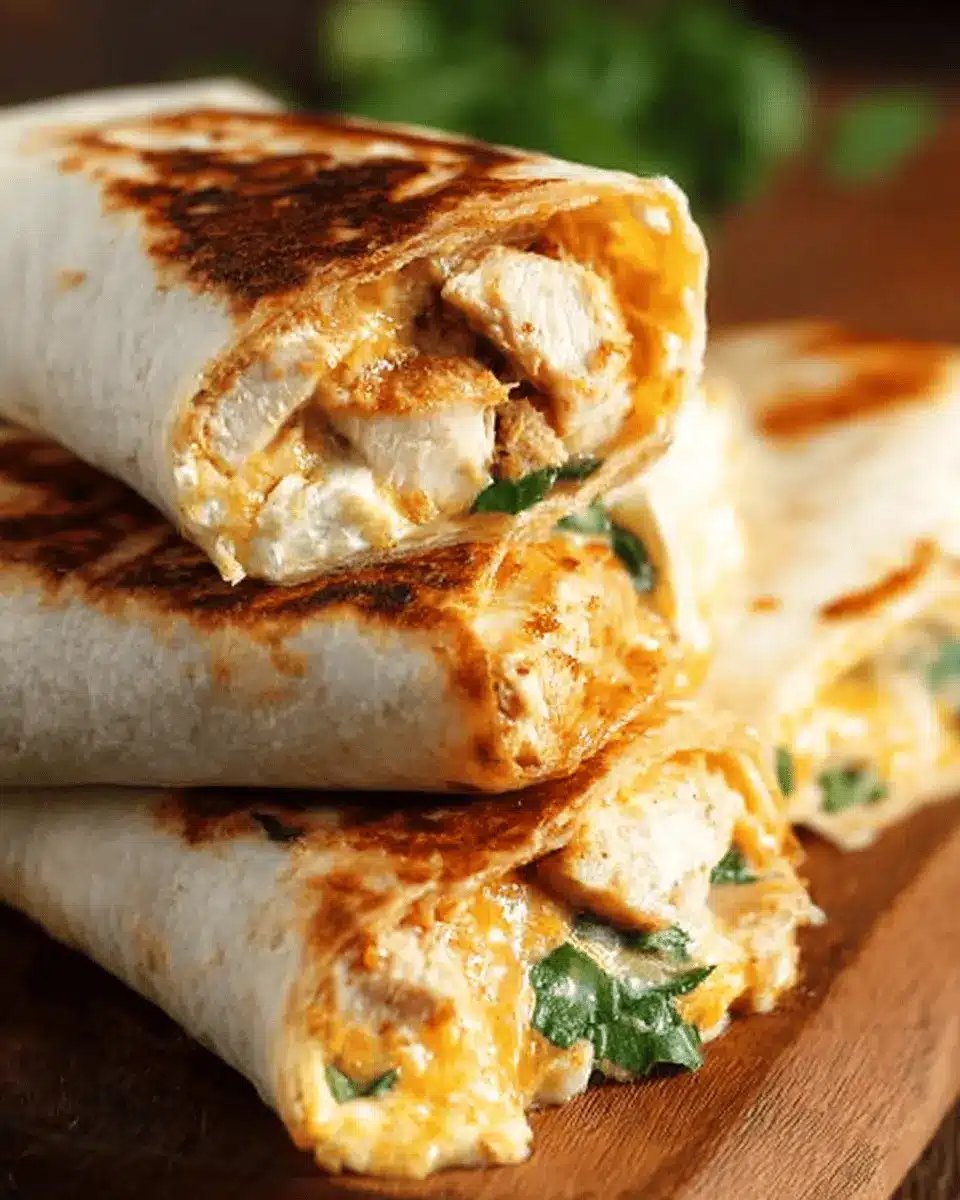
Cook the Wraps to Crispy Perfection
Heat a non-stick pan over medium-high heat and give it a light spray with olive oil. Place your wraps seam-side down and cook for about 3 to 4 minutes per side until they turn golden brown and crispy. Covering the pan helps melt the cheese perfectly, allowing the inside to heat through more efficiently.
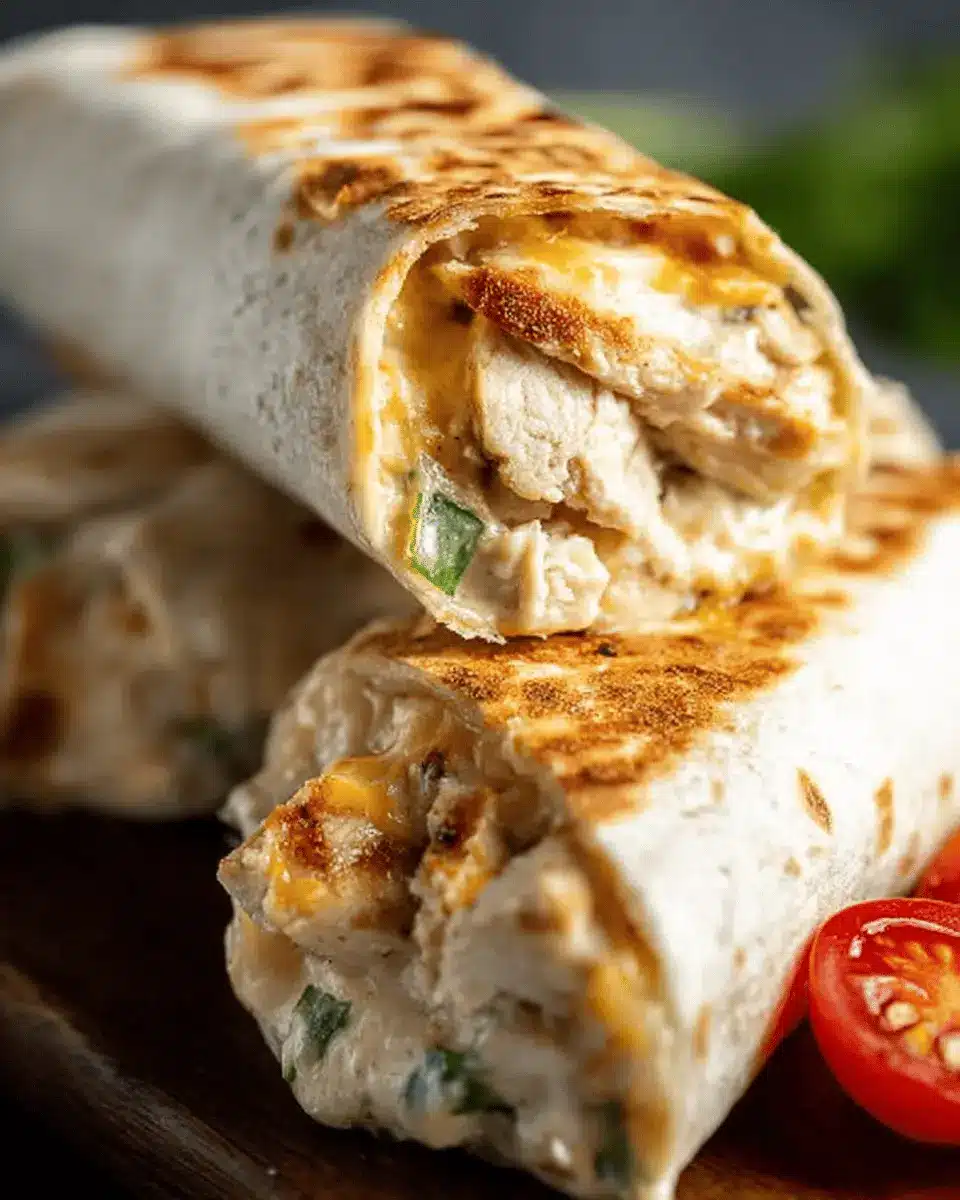
Slice and Serve Those Delicious Wraps
Once cooked, carefully slice your wraps in half, showcasing that melty, cheesy interior. These wraps don’t just make for a great main dish; they’re fantastic with a side of crunchy salad or some roasted veggies. Feel free to serve them with salsa or even pickles for an extra zing! If you have leftovers, store them in the fridge for up to 2 days and reheat for that crispy goodness.
Enjoy your homemade Cheesy Garlic Chicken Wraps! Trust me — once you’ve had a taste, they’ll be a go-to meal for those busy weeknights.
Variations on Cheesy Garlic Chicken Wraps
Exploring different flavors can elevate your Cheesy Garlic Chicken Wraps to new heights! Here are some flavorful variations to inspire your next meal.
Spicy Garlic Chicken Wraps for a Kick
If you love a bit of heat, try adding a splash of sriracha or diced jalapeños to your chicken mixture. The extra spice complements the garlic beautifully, creating a dynamic flavor profile. You can also swap out the cheese for pepper jack for an added kick!
Veggie-Loaded Wraps for a Healthier Twist
For a lighter option, fill your Cheesy Garlic Chicken Wraps with an array of fresh veggies. Think bell peppers, spinach, and shredded carrots. Not only do they amp up the nutrition, but they also add a delightful crunch and color to your meal. Plus, you can experiment with different spreads like hummus or avocado instead of mayonnaise for a creamy finish.
These easy swaps not only add variety but also allow you to cater to your taste buds and dietary preferences. Happy wrapping!
Cooking tips and notes for Cheesy Garlic Chicken Wraps
Key tips for achieving the perfect texture
To create the ultimate Cheesy Garlic Chicken Wraps, focus on achieving a crispy exterior while keeping the inside warmly gooey. Here are some pointers:
-
Tortilla choice: Opt for large, flexible tortillas. They should be thin enough to roll easily but sturdy enough to hold the filling without tearing.
-
Even filling distribution: Spread the filling evenly to avoid tearing the tortilla. This ensures each bite is packed with flavor.
-
Heat control: Cooking on medium-high heat allows for a golden crisp outside without burning, while a lid accelerates cheese melting.
Discover more tips on making wraps crispy and delicious on popular cooking sites like Serious Eats. Enjoy your cheesy creation!
Serving suggestions for Cheesy Garlic Chicken Wraps
When enjoying your Cheesy Garlic Chicken Wraps, consider pairing them with a few tasty sides to create a well-rounded meal. Here are some suggestions:
-
Crunchy Salad: A fresh, vibrant salad filled with greens, cherry tomatoes, and cucumbers adds a refreshing crunch, balancing the creamy wraps. Try a simple vinaigrette or a yogurt-based dressing for a lighter touch.
-
Roasted Veggies: Roasting carrots, bell peppers, or zucchini drizzled with olive oil and herbs brings out natural sweetness and provides excellent nutrition.
-
Dips: Serve with a side of salsa or guacamole for extra flavor. The acidity of tomatoes or the creaminess of avocado complements the savory wraps beautifully.
-
Chips: Keep it casual with a handful of tortilla chips for some satisfying crunch!
These sides not only enhance your meal but also keep it fun and varied. Why not mix and match to find your favorite combinations?
Time breakdown for Cheesy Garlic Chicken Wraps
Preparation Time
Getting started is quick and easy! Take about 15 minutes to gather your ingredients, chop the chicken, and mix the filling.
Cooking Time
Once you’re prepped, cook those cheesy wraps on the stove for just 7 minutes. You’ll find that they brown up beautifully!
Total Time
In only 22 minutes, you’ll have delicious Cheesy Garlic Chicken Wraps ready to enjoy, making them a perfect choice for a busy weeknight dinner. They’re not just quick; they’re also oh-so-satisfying!
For more on meal prep efficiency, check out this helpful guide on meal prep tips. Enjoy your cooking journey!
Nutritional Facts for Cheesy Garlic Chicken Wraps
When you're indulging in Cheesy Garlic Chicken Wraps, it's good to know what's on your plate. Each wrap provides a satisfying balance of flavors and nutrition.
-
Calories: 476 kcal
Enjoying a wrap won’t break your daily calorie budget, making it a perfect lunch or dinner option. -
Protein: 38 g
With a hearty 38 grams of protein, you’ll feel full and energized, ideal for busy days ahead. -
Sodium: 1,090 mg
Just watch your sodium intake if you’re keeping an eye on salt—this wrap has a bit more than the recommended daily limit.
For a deeper dive into nutrition, consider checking out resources like the USDA FoodData Central for reliable information on ingredients and their values. You can also explore sites like MyFitnessPal to track your nutrients more comprehensively.
FAQs about Cheesy Garlic Chicken Wraps
Can I make the filling ahead of time?
Absolutely! In fact, making the filling in advance can save you time during busy weekdays. You can prepare the cheesy garlic chicken filling and store it in the fridge for up to three days. Just assemble the wraps when you're ready to eat, and enjoy that fresh, gooey goodness!
What type of tortillas are best for these wraps?
For Cheesy Garlic Chicken Wraps, both regular and low-carb/high-protein tortillas work well. The choice largely depends on your dietary preferences! Whole wheat or spinach tortillas can also add a different flavor and nutrients.
How can I store leftovers?
If you find yourself with leftover wraps, you can store them in the fridge for up to two days. Reheat them in a skillet or an air fryer to restore their crispy texture. However, it's best not to freeze the assembled wraps; instead, you can freeze the filling for future meals. Just thaw it and wrap when you're ready!
For more tips on meal prep and storage, check out resources like The Kitchn for guidance on keeping your foods fresh!
Conclusion on Cheesy Garlic Chicken Wraps
In summary, Cheesy Garlic Chicken Wraps are a delightful blend of taste and nutrition, perfect for any meal. They’re not just quick to prepare but also versatile, allowing you to customize with favorite ingredients. Give this recipe a try and enjoy an easy, satisfying meal any time!
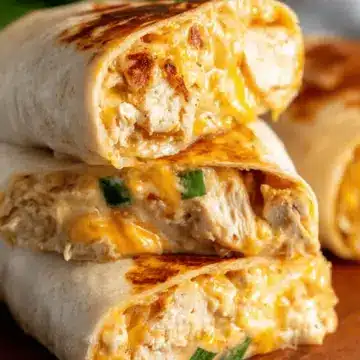
Cheesy Garlic Chicken Wraps
Equipment
- Non-stick pan
- bowl
Ingredients
- 2 large tortillas regular or low-carb/high-protein
- 7 oz cooked chicken about 200 grams, chopped (rotisserie is great)
- 2 cloves garlic minced or grated (adjust to taste)
- 2 tablespoons light mayonnaise
- 1 tablespoon light Greek yogurt or plain yogurt
- 2 teaspoons hot sauce like Frank’s
- ¼ teaspoon salt
- 3 oz grated cheese about 90 grams (I used a cheddar blend)
- 1 green onion chopped
- Olive oil spray
Instructions
- In a bowl, mix chopped chicken, garlic, mayonnaise, yogurt, hot sauce, and salt.
- Lay out your wrap. On the lower third of the tortilla, sprinkle about 2 tablespoons of cheese, then top with about ⅔ cup of the chicken mixture. Add another tablespoon of cheese and a sprinkle of green onion.
- Fold in the sides of the tortilla, then roll it up tightly from the bottom.
- Heat a non-stick pan over medium-high. Spray with olive oil.
- Place wraps seam-side down. Cook for 3–4 minutes per side until crispy and golden. Cover with a lid to help heat the inside.
- Slice in half and serve!

Leave a Reply