
Introduction to Homemade Cream Puffs
Why Choose Homemade Cream Puffs?
When it comes to desserts, few can match the delight of homemade cream puffs. These French confections are not only visually stunning but are also a treat for the taste buds, with their crisp, golden shells and luscious cream filling. Making them from scratch is surprisingly rewarding! You control the ingredients, ensuring freshness and quality, which is often lacking in store-bought treats.
Imagine serving a platter of these delicious pastries at your next gathering. The moment your friends and family take a bite, they’ll experience the perfect balance of crispy and creamy textures. Plus, there's something special about the art of creating a dessert that feels elevated yet is entirely achievable at home.
Homemade cream puffs also provide flexibility. You can customize the filling—whipped cream, pastry cream, or even custard—tailoring them to your tastes or dietary needs. With a simple base recipe, you’ll discover infinite variations. If you're looking for a fun baking challenge that delivers a fantastic payoff, these delightful treats are calling your name!
For a detailed step-by-step guide to create these exquisite pastries, check out the full recipe below.
Ingredients for Homemade Cream Puffs
Creating delicious homemade cream puffs begins with the right ingredients and a bit of love! Here's what you'll need:
Pâte à Choux Ingredients
- Water: 1 ¼ cups (300 ml), divided
- Granulated Sugar: 1 teaspoon (4 g)
- Kosher Salt: ½ teaspoon (2 g)
- Unsalted Butter: ½ cup (114 g), cut into 8 slices
- All-Purpose Flour: 1 cup (124 g), spooned and leveled
- Large Eggs: 4
- Powdered Sugar: ¼ cup (12 g), for dusting.
Whipped Cream Ingredients
- Heavy Whipping Cream: 2 cups (480 ml)
- Sugar: ½ cup (24 g), either powdered or granulated
- Vanilla Extract: 1 teaspoon (5 ml), for flavor.
Special Equipment Needed
To perfectly execute the recipe, gather these tools:
- Stand Mixer
- Cooling Rack
- Pastry Bag
- Plain Pastry Tip
- Star Pastry Tip
Once you have your ingredients and equipment ready, you're all set to embark on this delightful baking adventure. These homemade cream puffs are not just a treat; they are a celebration of flavors and textures! For more tips on mastering cream puffs, consider checking out this guide on pastry techniques. Happy baking!
Step-by-step Preparation of Homemade Cream Puffs
Making homemade cream puffs can be a delightful experience, especially when you see those beautifully puffed pastries come out of the oven! Follow these simple steps, and you’ll be on your way to impressing family and friends with your culinary skills.
Preheat the Oven
Start by setting your oven to a toasty 425°F (218ºC) with the racks positioned in the upper-middle and lower-middle slots. This will ensure an even bake. While the oven is heating, prepare two sheet pans by lining them with parchment paper to prevent sticking.
Make the Pâte à Choux Dough
In a large saucepan, combine 1 cup of water, sugar, salt, and butter cut into slices. Bring this mix to a boil over medium-high heat, stirring until the butter melts completely. Next, remove the saucepan from heat and add in flour all at once. Stir vigorously with a wooden spoon or spatula until the mixture forms a smooth ball.
Cool the Dough
This step is crucial! Transfer the dough to your stand mixer and set it to low speed for about 2 to 3 minutes. Allow it to cool down to about 130°F (54ºC). Cooling the dough prevents the eggs from cooking when added in the next step. It’s all about that perfectly fluffy texture!
Add Eggs to the Dough
Once cooled, add the eggs one at a time, mixing on a medium-low speed for about 30 to 45 seconds after each addition. You’ll want the dough to pull away from the sides of the bowl. It should look shiny and firm—perfect for piping!
At this point, you might ask: How do I know if I need that fourth egg? If the dough is too thick, add it in, and mix until well incorporated.
Pipe the Dough onto Sheet Pans
Fit a piping bag with a large plain tip and fill it with your choux pastry. Pipe 2-inch rounds onto your parchment-lined sheets, spacing them at least 2 inches apart. You can also dip your finger in water to smooth out any peaks left on the tops—this helps them bake evenly.
Brush with Egg Wash
In a small bowl, whisk together one egg and a tablespoon of water. Brush this lovely wash over the dough rounds; it helps them achieve that golden, glossy finish.
Bake the Cream Puffs
Now for the magic! Bake in your preheated oven, gradually reducing the heat. Start at 425°F, then drop temperatures every 10 minutes until you reach 200°F. Avoid opening the oven door—this is key for perfect puffing! Total baking time is around 60 to 70 minutes.
Prepare the Whipped Cream
While the puffs are baking, it’s time to make the filling! Combine heavy cream, powdered sugar, and vanilla extract in a stand mixer. Whip on medium-high speed until stiff peaks form—watch the clock, as you don’t want to over-whip!
Fill the Cream Puffs
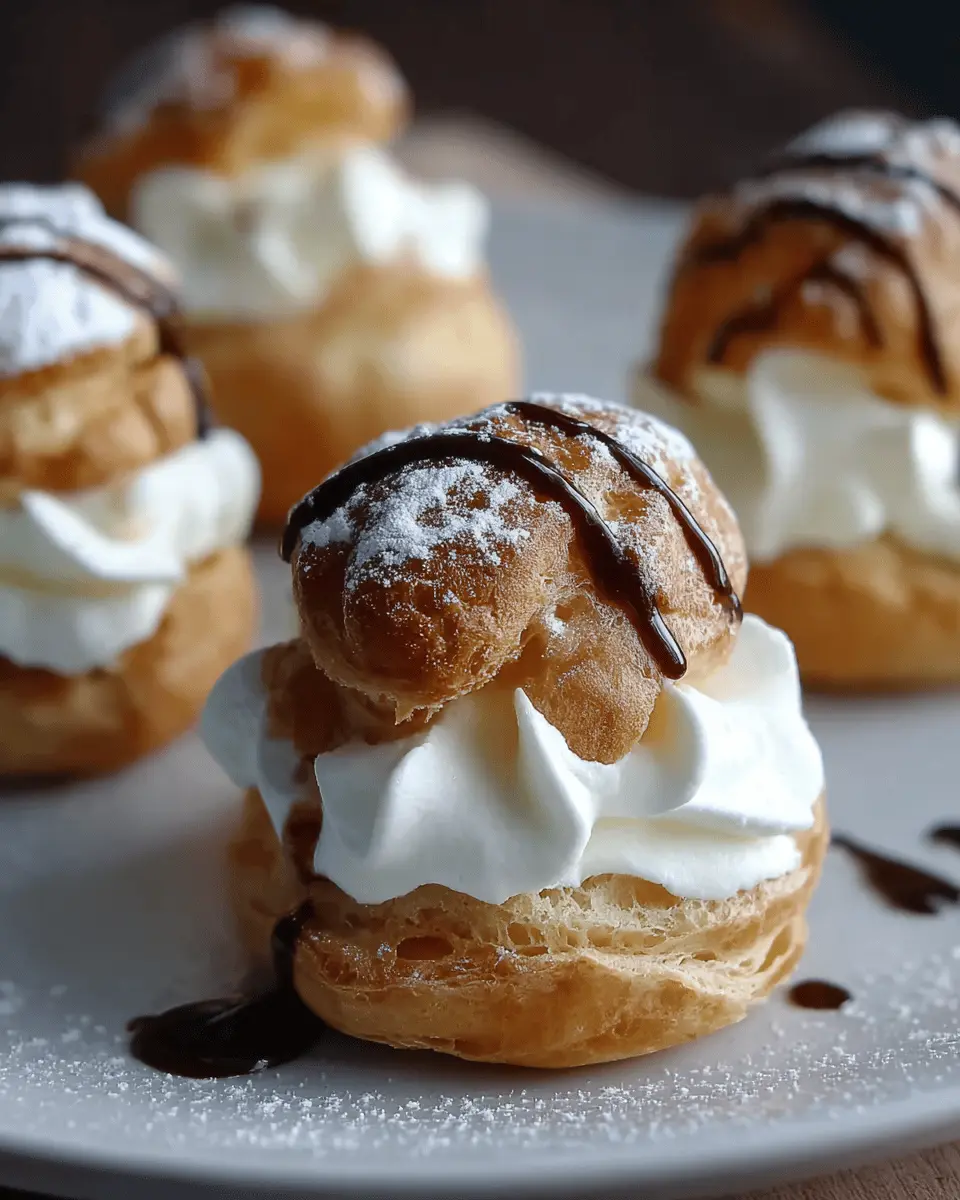
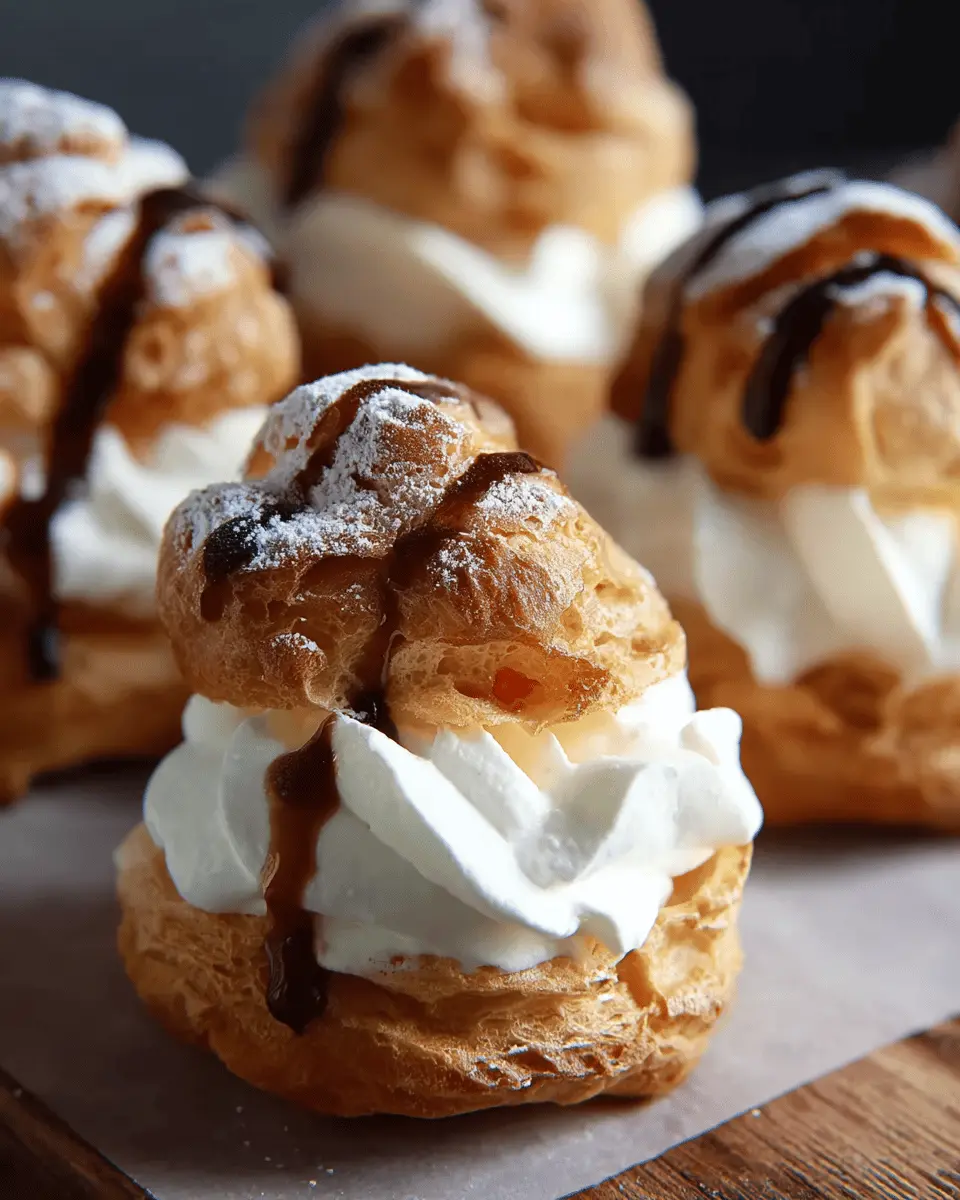
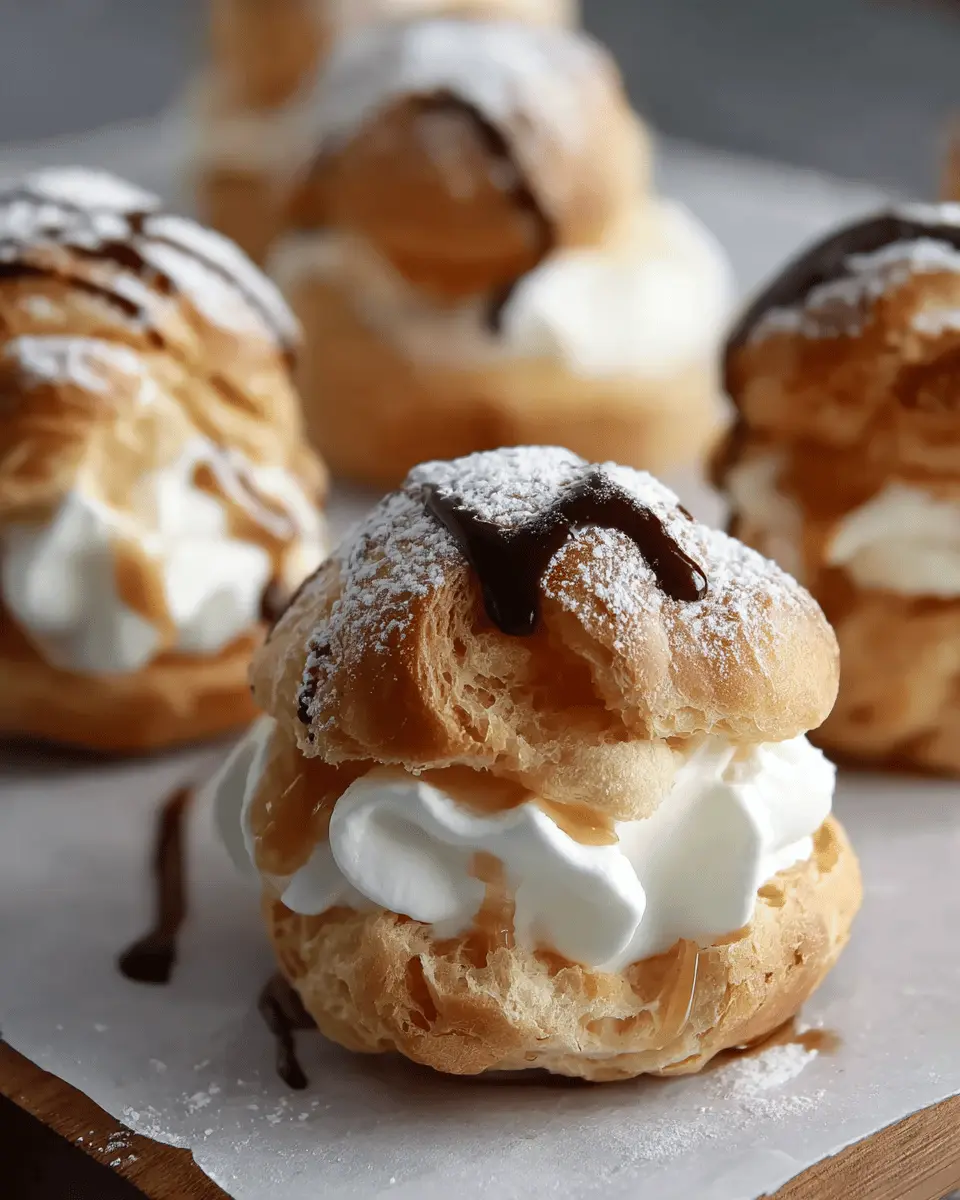
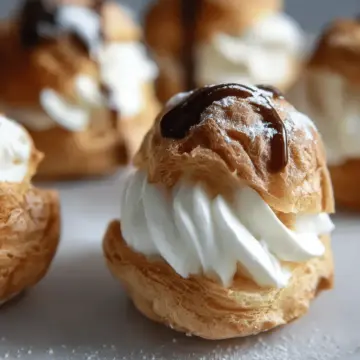
Once the shells are cool, gently cut them in half and pipe in the whipped cream. You can use a star tip for a professional look!
Dust with Powdered Sugar
Finishing touches matter! Lightly dust the tops with powdered sugar for that extra charm. Serve immediately, or store in the refrigerator until ready to devour.
With these steps, you’ll become a cream puff connoisseur in no time. Whether it’s a special occasion or a casual dessert, homemade cream puffs are sure to impress!
Variations on Homemade Cream Puffs
Homemade cream puffs are a delightful canvas for flavor creativity! Here’s how you can give them a unique twist:
Chocolate Cream Puffs
Indulge your chocolate cravings by adding cocoa powder to your choux pastry. Fill your cream puffs with a luscious chocolate ganache or a rich chocolate mousse for an extra decadent treat. Drizzle some chocolate sauce on top for that wow factor!
Fruit-filled Cream Puffs
For a lighter option, consider filling your cream puffs with fresh whipped cream and seasonal fruit fillings. Berries, peaches, or even citrus curd can add a refreshing burst of flavor. These are perfect for summer gatherings!
Savory Cream Puffs
Why not go savory? Incorporate cheese into your dough, like Gruyère or Parmesan, and fill the puffs with herbed cream cheese or a whipped feta mixture. These make for sophisticated appetizers that are sure to impress at your next brunch or party.
For more ideas and recipes, check out Serious Eats and Bon Appétit. Explore more delicious variations!
Cooking Tips and Notes for Homemade Cream Puffs
Precise Measuring Techniques
When preparing homemade cream puffs, accurate measuring is crucial. Use the spoon and level method for flour to ensure your pastry isn't dense. Scoop flour into a measuring cup without packing it down, then level off with a knife for the perfect amount. This little step can make a big difference in texture!
Storing and Reheating Cream Puffs
To maintain their delightful crispness, store unfilled cream puff shells in an airtight container at room temperature for up to five days or freeze them for a month. If they lose their crunch, reheat at 300ºF until crisp again, typically around 5-10 minutes. For the best flavor, fill and serve your homemade cream puffs the same day, but they can stay refrigerated for up to three days if needed.
For more tips on storage, check out this resource.
Serving Suggestions for Homemade Cream Puffs
Ideal Pairings
To elevate your homemade cream puffs, consider pairing them with a rich cup of coffee or a refreshing herbal tea, like chamomile or mint. For a delightful contrast, serve the cream puffs alongside a zesty citrus sorbet. Try adding fruits such as strawberries or raspberries on the side to enhance the flavor and add a pop of color to your dessert spread.
Presentation Tips
When serving, arrange the cream puffs on a decorative platter, and dust them lightly with powdered sugar for that elegant touch. Consider using edible flowers or fresh mint leaves for garnish. If you want a bit of flair, drizzle a chocolate or caramel sauce over the entire platter. This will not only look stunning but will also add an extra layer of flavor to your homemade cream puffs!
For more tips on presentation and pairings, check out Food & Wine's dessert techniques.
Time Breakdown for Homemade Cream Puffs
Preparation Time
The preparation for these delightful homemade cream puffs takes about 30 minutes. This includes gathering ingredients, making the dough, and getting everything ready for baking.
Baking Time
You'll spend approximately 1 hour and 15 minutes in the oven. The gradual temperature change is crucial for achieving that perfect airy texture without overcooking the puffs.
Total Time
In total, you’re looking at 1 hour and 45 minutes from start to finish. It’s a delightful way to spend some time in the kitchen, and the delicious results are totally worth it! For more insights on mastering pastry, consider checking out resources like Serious Eats or America's Test Kitchen for expert tips.
Ready to impress your guests? Let’s get baking those irresistible homemade cream puffs!
Nutritional Facts for Homemade Cream Puffs
When indulging in homemade cream puffs, it's essential to be aware of the nutritional makeup. Each delightful cream puff contains approximately:
Calories
Each cream puff has about 116 calories. This makes them a lighter dessert option, perfect for satisfying your sweet tooth without overindulging.
Carbohydrates
These puffs hold around 10 grams of carbohydrates. They’re an excellent treat if you’re watching your carb intake while still enjoying a classic dessert.
Protein
With about 3 grams of protein per cream puff, they offer a small boost of this important macronutrient, which helps keep you feeling satisfied longer.
Remember, the key to enjoying cream puffs is moderation—so go ahead and treat yourself! For more on maintaining balance in your diet, check out Healthline’s guide to healthy eating.
FAQs about Homemade Cream Puffs
How can I prevent soggy cream puffs?
To avoid soggy homemade cream puffs, it’s crucial to thoroughly bake the shells. Underbaking can leave moisture trapped inside, causing them to become mushy. Always let them cool completely on a wire rack before filling them with whipped cream. You can also try baking them longer at a lower temperature if you notice they aren’t firm enough.
What if my cream puffs deflate?
If your cream puffs deflate after baking, it could be due to opening the oven door too soon or not enough steam forming in the shells. Make sure to let the puffs cool in the oven for a few minutes before transferring them to a cooling rack. This helps maintain their shape.
Can I make the pastry ahead of time?
Absolutely! You can prepare the pâte à choux ahead of time and store it in an airtight container for up to 5 days. When ready to use, just reheat gently in the oven to restore that delightful crispiness before filling them. For more tips on storing and reheating, check out this guide on pastry preservation.
Conclusion on Homemade Cream Puffs
Creating homemade cream puffs is a delightful experience that combines art and taste. These delicate pastries are not only impressive but also customizable to fit any occasion. So, whether you fill them with classic whipped cream or get creative with flavors, enjoy each bite of your sweet success!
Homemade Cream Puffs: Easy Indulgence Perfect for Any Occasion
Equipment
- Stand Mixer
- Cooling Rack
- Pastry Bag
- Plain Pastry Tip
- Star Pastry Tip
Ingredients
Pâte à Choux
- 1 ¼ cup water, divided
- 1 teaspoon granulated sugar
- ½ teaspoon kosher salt
- ½ cup unsalted butter, cut into 8 slices
- 1 cup all-purpose flour, spoon and leveled see notes
- 4 large eggs
- ¼ cup powdered sugar, for dusting
Egg Wash
- 1 large egg
- 1 tablespoon water, or milk
Whipped Cream
- 2 cups heavy whipping cream, or heavy cream
- ½ cup powdered sugar, or granulated sugar
- 1 teaspoon pure vanilla extract
Instructions
Instructions
- Preheat the Oven - Set the oven racks to upper-middle and lower-middle positions. Preheat to 425°F (218ºC). Line two sheet pans with parchment paper and set them aside.
- Make the Dough - In a large heavy-bottomed saucepan, add 1 cup of water, sugar, salt, and butter. Bring to a boil over medium-high heat and stir until the butter fully melts, about 2 minutes.
- Turn off the heat and immediately add the flour. Vigorously stir with a large spoon (non-metal) until the flour is incorporated. Increase the heat to medium, and constantly stir until it clumps together, about 4 to 5 minutes.
- Cool the Dough - Transfer the dough to a bowl of a stand mixer fitted with a paddle. Slowly stir on low speed (setting 2) to cool to 130°F (54ºC) or just below, about 2 to 3 minutes.
- Add the Eggs in Stages - Add eggs one at a time, mixing on medium-low speed (setting 4) until each egg is fully incorporated, about 30 to 45 seconds per egg.
- Piping the Dough - Add a large plain tip to a piping bag (Ateco 806). Option to lightly grease the inside of the pastry bag with cooking spray.
- Pipe onto the sheet pan, creating a 2-inch circular ball, and ensure they are at least 2 inches apart.
- Brush on Egg Wash - In a small bowl, whisk together one egg and 1 tablespoon of water. Brush the tops and sides of each dough ball with the egg wash.
- Gradual Baking Process - Place the sheet trays in the upper-middle and lower-middle positions. Bake for 10 minutes at each temperature setting: 425°F (218ºC), 375°F (191ºC), 325°F (163ºC), 275°F (135ºC), 225°F (107ºC), and 200°F (93ºC).
- Make the Whipped Cream - In a stand mixer fitted with the whisk attachment, add heavy cream, powdered sugar, and vanilla extract. Whip until smooth, stiff peaks form, about 2 minutes.
- Piping the Cream - Working in batches, add the whipped cream to a pastry bag fitted with a large star tip. Cut the shells in half to create a top and bottom.
- Top with Sugar - Sprinkle powdered sugar on top of each cream puff. Serve immediately, or refrigerate, uncovered, if not eating within one hour.

Leave a Reply