
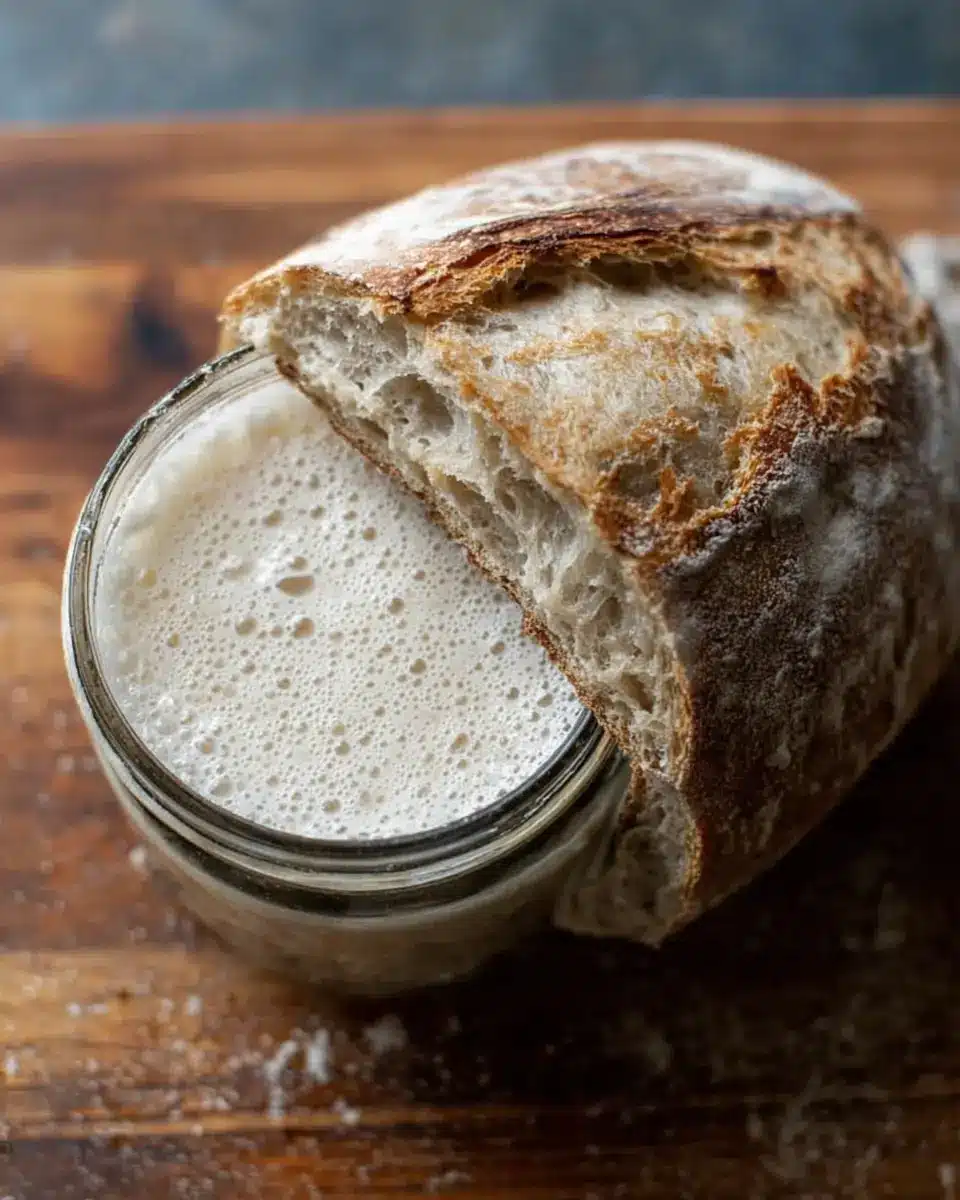
Introduction to Beginner Sourdough Starter Recipe
Why Start a Sourdough Journey?
Embarking on a sourdough journey is an exciting adventure! If you’ve ever tasted the tangy, artisanal loaves from your local bakery, you know that sourdough bread holds a special place in the world of baked goods. Creating your own sourdough starter gives you the chance to nurture yeast from the air around you, transforming simple ingredients into an extraordinary loaf. Many find that this process is both a creative outlet and a rewarding connection to the kitchen. As you observe your starter grow, thrive, and bubble, you’ll feel a sense of accomplishment that brings joy to your baking.
Benefits of Homemade Sourdough Bread
When you master the beginner sourdough starter recipe, you'll unlock a treasure trove of benefits:
- Flavorful Enjoyment: Homemade sourdough has a complex flavor profile and delightful crust that store-bought bread often lacks.
- Healthier Option: Natural fermentation can improve digestibility and promote gut health thanks to beneficial lactobacilli and yeast.
- Cost-Effective: With a small investment of time and resources, you can create an endless supply of delicious bread for your family and friends.
As you begin this delicious endeavor, remember that patience is key, and oh, the rewards are well worth it!

Ingredients for Beginner Sourdough Starter
Essential ingredients for a thriving starter
Creating a beginner sourdough starter recipe is an exciting journey, and it all begins with the right ingredients. To establish a healthy starter, you'll need:
- Whole Wheat Flour: This is your starter's foundation. Aim for about ½ cup (60g) to kick off the process. Whole wheat flour is rich in nutrients that feed the wild yeast.
- All-Purpose Flour: As your starter matures, switch to all-purpose flour for feeding. Use ½ cup (60g) as the ratio in your upkeep routine.
- Water: Preferably warm (around 85°F) to help activate the yeast. The quality of water matters; filtered or bottled options work best to avoid chlorine, which can inhibit yeast growth.
Optional ingredients and tools to consider
While the essentials are key, a few optional ingredients and tools can enhance your experience:
- Scale: For accuracy, especially since bakers ratios rely on weight. Using a scale ensures your flour and water ratios are precise, which is especially useful for beginner bakers.
- Jar: A wide, transparent container allows you to observe the starter's growth. Look for one that holds at least 1 liter.
- Rubber Band: Mark the starter's growth! Place it around the jar to easily measure how much your starter rises.
With these ingredients and tools, you're well on your way to crafting your very own sourdough starter! For more detailed guidance, check out my full beginner sourdough starter recipe.
Preparing Your Sourdough Starter
Creating your very own sourdough starter is an exciting journey that opens up a world of baking possibilities. Follow this friendly guide to help you successfully cultivate your own starter with my beginner sourdough starter recipe. Let’s get started!
Mixing the First Ingredients
On Day 1, it all begins with a simple mixture of 60 g of whole wheat flour and 60 g of warm water, ideally around 85°F. Use a large jar to combine these ingredients and mix until smooth—a fork works wonders here! The consistency will be somewhat thick, similar to pancake batter. Once combined, cover the jar with a lid, plastic wrap, or reusable wax wrap, and place it in a warm spot (roughly 70-75°F) to give it the best chance to rise. It's essential to keep the temperature in mind; a warm environment promotes fermentation and helps your starter develop those coveted bubbles.
Observing the Fermentation Process
After a full day, take a peek at your starter. On Day 2, you may notice small bubbles forming on the surface, indicating that fermentation is taking place—this is a great sign! If you see no bubbles yet, don’t despair; sometimes the fermentation can be slow at first. Stir gently to incorporate air into the mixture, then let it rest an additional 24 hours. Remember, patience is key!
Daily Feedings and Maintaining Your Starter
As your starter progresses, daily feedings become crucial. By Day 3, you'll begin a routine where you remove half of the starter (about 60 g) and replace it with equal parts (60 g) all-purpose flour and water. This process helps to reintroduce fresh nutrients and stimulates growth. As the days go by, continue the feeding process consistently—ideally at the same time each day. You’ll notice your starter's texture changing to resemble thick yogurt, while the bubbles grow more pronounced.
Knowing When Your Starter is Ready
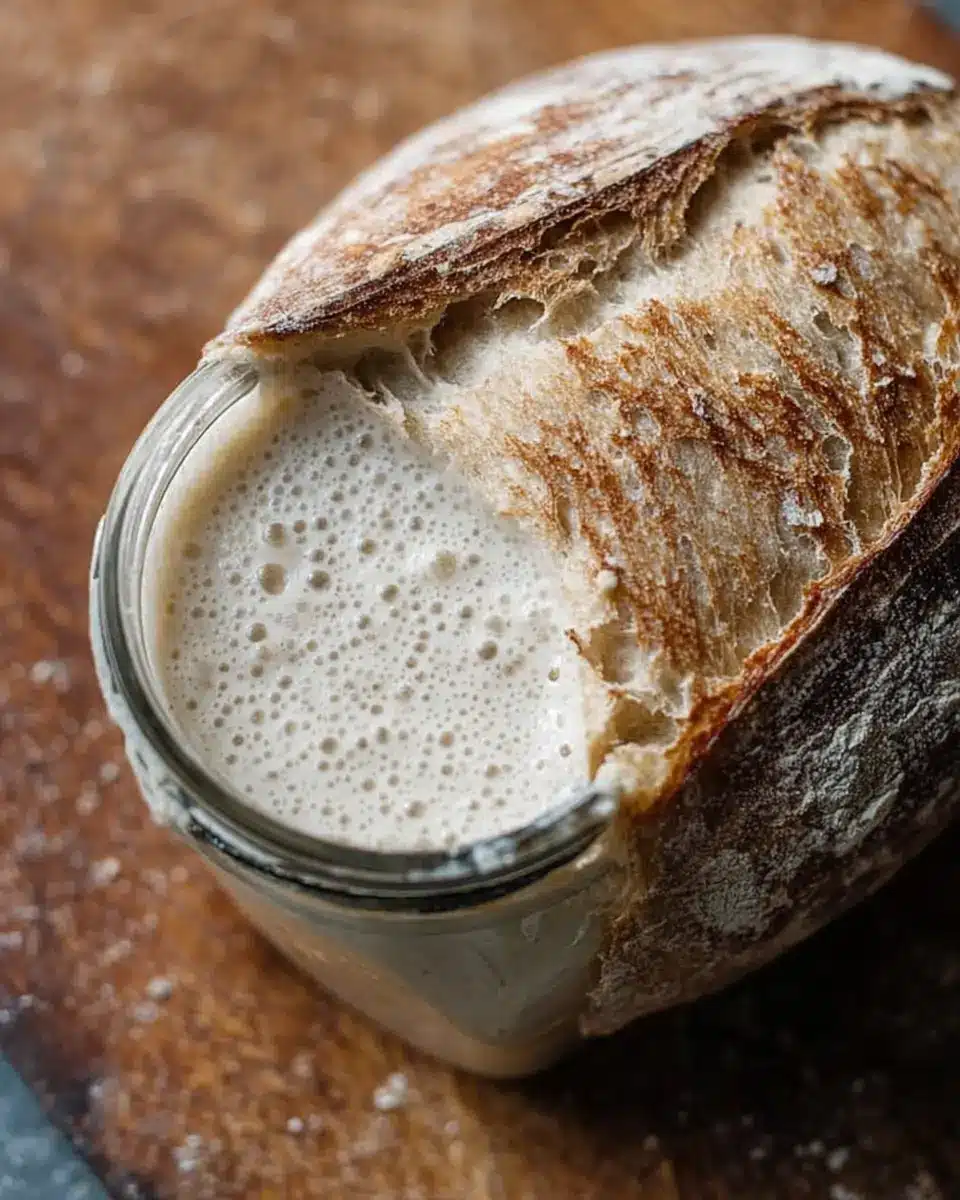
By the end of this journey, around Day 7, your starter should ideally have doubled in size, appearing fluffy and smelling pleasantly sour—think roasted marshmallows! To confirm it’s ready for baking, perform the float test: drop a small spoonful of your starter into a glass of water. If it floats, congratulations! You have an active sourdough starter, ready to transform your baking adventures.
Keep in mind, nurturing a sourdough starter can take time, often requiring extra days of feeding if conditions are less than ideal. If at first, you don't succeed, don't be discouraged! Keep feeding it and soon enough, you'll be the proud baker of delicious sourdough loaves.
For more tips on nurturing your starter, check out The Perfect Loaf, where you'll find resources and insights from fellow sourdough enthusiasts. Happy baking!
Variations on Sourdough Starter
Incorporating Whole Grain Flours
Once you’ve mastered the beginner sourdough starter recipe, consider experimenting with whole grain flours. Mixing in flours like rye, spelt, or even whole wheat can enhance the flavor and nutritional profile of your starter. Whole grains introduce more wild yeast and lactic acid bacteria, so you might notice a faster fermentation process. This not only adds depth to your bread but can also yield a more robust rise.
Experimenting with Different Hydration Levels
Another exciting way to customize your sourdough starter is by adjusting its hydration level. A starter with higher hydration (more water) leads to a wetter, more bubbly starter, resulting in a lighter loaf. Conversely, a drier starter makes denser bread with a chewier texture. Try altering the water content gradually and see how it impacts your baking.
Curious about how these variations affect your bread baking journey? Check out these resources: King Arthur Baking and The Perfect Loaf.
Baking Notes for Sourdough Starter
Common Mistakes and Troubleshooting Tips
Starting your sourdough journey can be tricky. One common mistake is not measuring ingredients by weight, which can lead to inconsistent hydration levels. Remember, equal parts means equal weights! If your starter isn't bubbling as expected, check your environment. A cooler room can slow fermentation—aim for 70-75°F for optimal growth. If you see a dark liquid (hooch), don’t fret; it means your starter is hungry. Just stir it in or pour it off before feeding.
Importance of Patience in Sourdough Baking
Patience is a baker's best friend when trying out the beginner sourdough starter recipe. It can take over a week for your starter to become robust and active. Days 3-4 often seem slow, as the yeast is cultivating. Resist the urge to rush it; these slow days are vital for developing flavor and strength. Enjoy the process, and remember: great things come to those who wait!
Serving Suggestions for Sourdough Bread
Ideal Dishes to Pair with Sourdough Bread
Sourdough bread is a delightful companion to many dishes. Try pairing it with:
- Avocado toast topped with zesty lemon and chili flakes for breakfast.
- Soups, like tomato bisque or hearty vegetable stew, which complement the tangy flavor of the bread.
- Turkey bacon or chicken ham sandwiches, where the sourdough’s crust adds the perfect crunch.
Creative Ways to Use Sourdough in Meals
Beyond traditional uses, let your imagination run wild! Explore these creative ideas:
- Make French toast by soaking slices in a mixture of eggs and milk for a breakfast treat.
- Craft a sourdough pizza crust for a unique twist on pizza night.
- Use stale sourdough for croutons or bread crumbs to elevate your salads and casseroles.
Experimenting with your beginner sourdough starter recipe opens up a world of tasty possibilities! For more inspiration, check out The Spruce Eats for additional pairing ideas.
Time Breakdown for Starting Your Sourdough
Total Time for the Starter Process
The entire journey to create a robust beginner sourdough starter recipe typically takes about 7 days, but can sometimes extend to 2 weeks or more. Various factors, like temperature, can affect how quickly your starter becomes active.
Daily Obligations for Maintenance
You’ll need to commit just a few minutes each day for maintenance. Essentially, it involves discarding a portion of your starter and feeding it with equal parts flour and water. Daily care helps nurture those important yeast cultures. Mark your feeding times to establish a routine!
Time Before First Bake
Once your starter is healthy and bubbling with activity, you can begin baking! Expect to wait about 7 days for the starter to reach its peak activity, but remember that patience is key. If it isn't quite ready, don’t hesitate to extend that timeline a little longer.
Ready to dive into the full beginner sourdough starter recipe? Let's get started!
Nutritional Facts of Sourdough
Health benefits of sourdough
Sourdough bread boasts impressive health benefits. The fermentation process not only enhances nutrient absorption but also makes it easier to digest. Rich in probiotics, this bread can help boost gut health, and its lower glycemic index compared to traditional bread may promote better blood sugar control.
Nutritional comparison to commercial bread
When you look at the nutrition label, sourdough often outshines commercial bread. It tends to have more vitamins and minerals thanks to the fermentation process. For instance:
- Higher fiber content: Promotes digestion and keeps you feeling fuller longer.
- Lower additives: Homemade sourdough typically contains fewer preservatives and artificial ingredients compared to store-bought varieties.
Curious how to make your own? Try my beginner sourdough starter recipe to enjoy healthier bread straight from your kitchen! For more insights, check out the science behind sourdough here.
FAQs About Sourdough Starters
How can I tell if my starter is healthy?
A healthy sourdough starter is bubbly, doubles in size within 4-6 hours after feeding, and has a pleasant, slightly tangy smell. If you see large and small bubbles throughout the mixture, it’s a great sign that your wild yeast and bacteria are thriving. A beginner sourdough starter recipe should lead to this kind of successful growth, especially if you're patient and provide proper care.
Can I store my sourdough starter?
Absolutely! If you bake often, keep your starter at room temperature and feed it daily. For less frequent baking, refrigerate it and feed it about once a week. Just remember to let it come to room temperature and give it a feeding before you use it.
What do I do if my starter smells bad?
A sourdough starter that smells off can be concerning. If you detect a strong, unpleasant odor reminiscent of gym socks, it might be time to discard some of it and refresh with new flour and water. Just make sure there's no mold and it has bubbles, which means it’s still alive. If it improves after feeding, you're good to go!
Conclusion on Sourdough Starter
Recap of the Sourdough Starter Journey
Congratulations on crafting your own beginner sourdough starter recipe! You’ve nurtured a simple mixture into a living culture full of flavor and potential. Remember, patience is key—your starter is a labor of love that rewards you every time you bake.
Encouragement to Bake from Your New Starter
Now it’s time to put your creation to good use! With your active starter ready, dive into baking delicious sourdough bread and explore creative recipes. Your journey has just begun, so don’t hesitate to experiment and enjoy the magic of homemade sourdough!
Beginner Sourdough Starter Recipe
Equipment
- Large jar
Ingredients
Flours
- 5 lb all purpose flour or bread flour Use any brand
- 0.5 cup whole wheat flour Use KAF whole wheat
Water
- water Preferably warm around 85°F
Instructions
Day 1
- Combine 60 g of whole wheat flour + 60 g of warm water in a large jar. Mix with a fork until smooth.
- Cover and let rest in a warm spot for 24 hours.
Day 2
- Check for bubbles. Stir if necessary and let rest for another 24 hours.
Day 3
- Remove and discard half of the starter. Add 60 g of all-purpose flour + 60 g of water. Mix well.
- Cover and let rest for 24 hours.
Day 4
- Remove and discard half of the starter. Add 60 g of all-purpose flour + 60 g of water. Mix well.
- Cover and let rest for 24 hours.
Day 5
- Remove and discard half of the starter. Add 60 g of all-purpose flour + 60 g of water. Mix well.
- Cover and let rest for 24 hours.
Day 6
- Remove and discard half of the starter. Add 60 g of all-purpose flour + 60 g of water. Mix well.
- Cover and let rest for 24 hours.
Day 7
- Remove and discard half of the starter. Add 60 g of all-purpose flour + 60 g of water. Mix well.
- Cover and let rest for 24 hours.
Day 8
- By now, your starter should have doubled in size and be ready to use.


Leave a Reply